Photography

5 Steps to Achieve a Film Look with Dehancer Pro

Ever notice how so many videos nowadays that have the “film” look?

Well, here’s how you can do something similar with 5 settings in Dehancer Pro.


Use Promo Code: HAI

for 10% off your purchase from Dehancer https://https://www.dehancer.com/


Want to support my work?

Consider visiting the shop and buying "Absolutely Nothing"
https://www.HaiHoangTran.com/shop/absolutely-nothing

or

Become a YouTube member!

https://www.youtube.com/channel/UCLUO-2ltlWfydRZ7pRRnXkw/join

Become a Patron!
https://www.patreon.com/HaiHoangTran

or

Buy some official merch!
https://www.youtube.com/haitran/store

PayPal
https://www.PayPal.me/HaiHoangTran

or

Just shop on Amazon via this link!
https://amzn.to/2FgsDnG

Around Washington w/ Kodak GC Ultramax 400

What’s going on guys, it’s Hai and I recently took the Nikon N2020 back out because I wanted to shoot some film. For this, I decided to pair it with a roll of Kodak Ultramax 400.

This film stock is intended to be more budget-friendly and I guess you can say more low-end. I view this film as something intended for people to pop into a camera and more so just catalog daily life, for people to take photos of their kids and just ordinary things like that. It’s not a specialized film and not saying that it can’t, but I don’t think it was really meant for professional applications.

Now, a little disclaimer. For this roll of film, I decided to have it developed and scanned by a local business. I don’t know the chemicals that were used to develop the film, I don’t know the scanner used to scan the film, or the type of post-processing done. This was my first time not doing all these things for myself so it’s definitely different from what I’ve previously showcased on this channel. Having someone else do everything just makes my life easier and will hopefully mean that I’ll be able to do more analog photography videos.

Ok, with that out of the way, let’s journey through this roll of Kodak Ultramax 400.

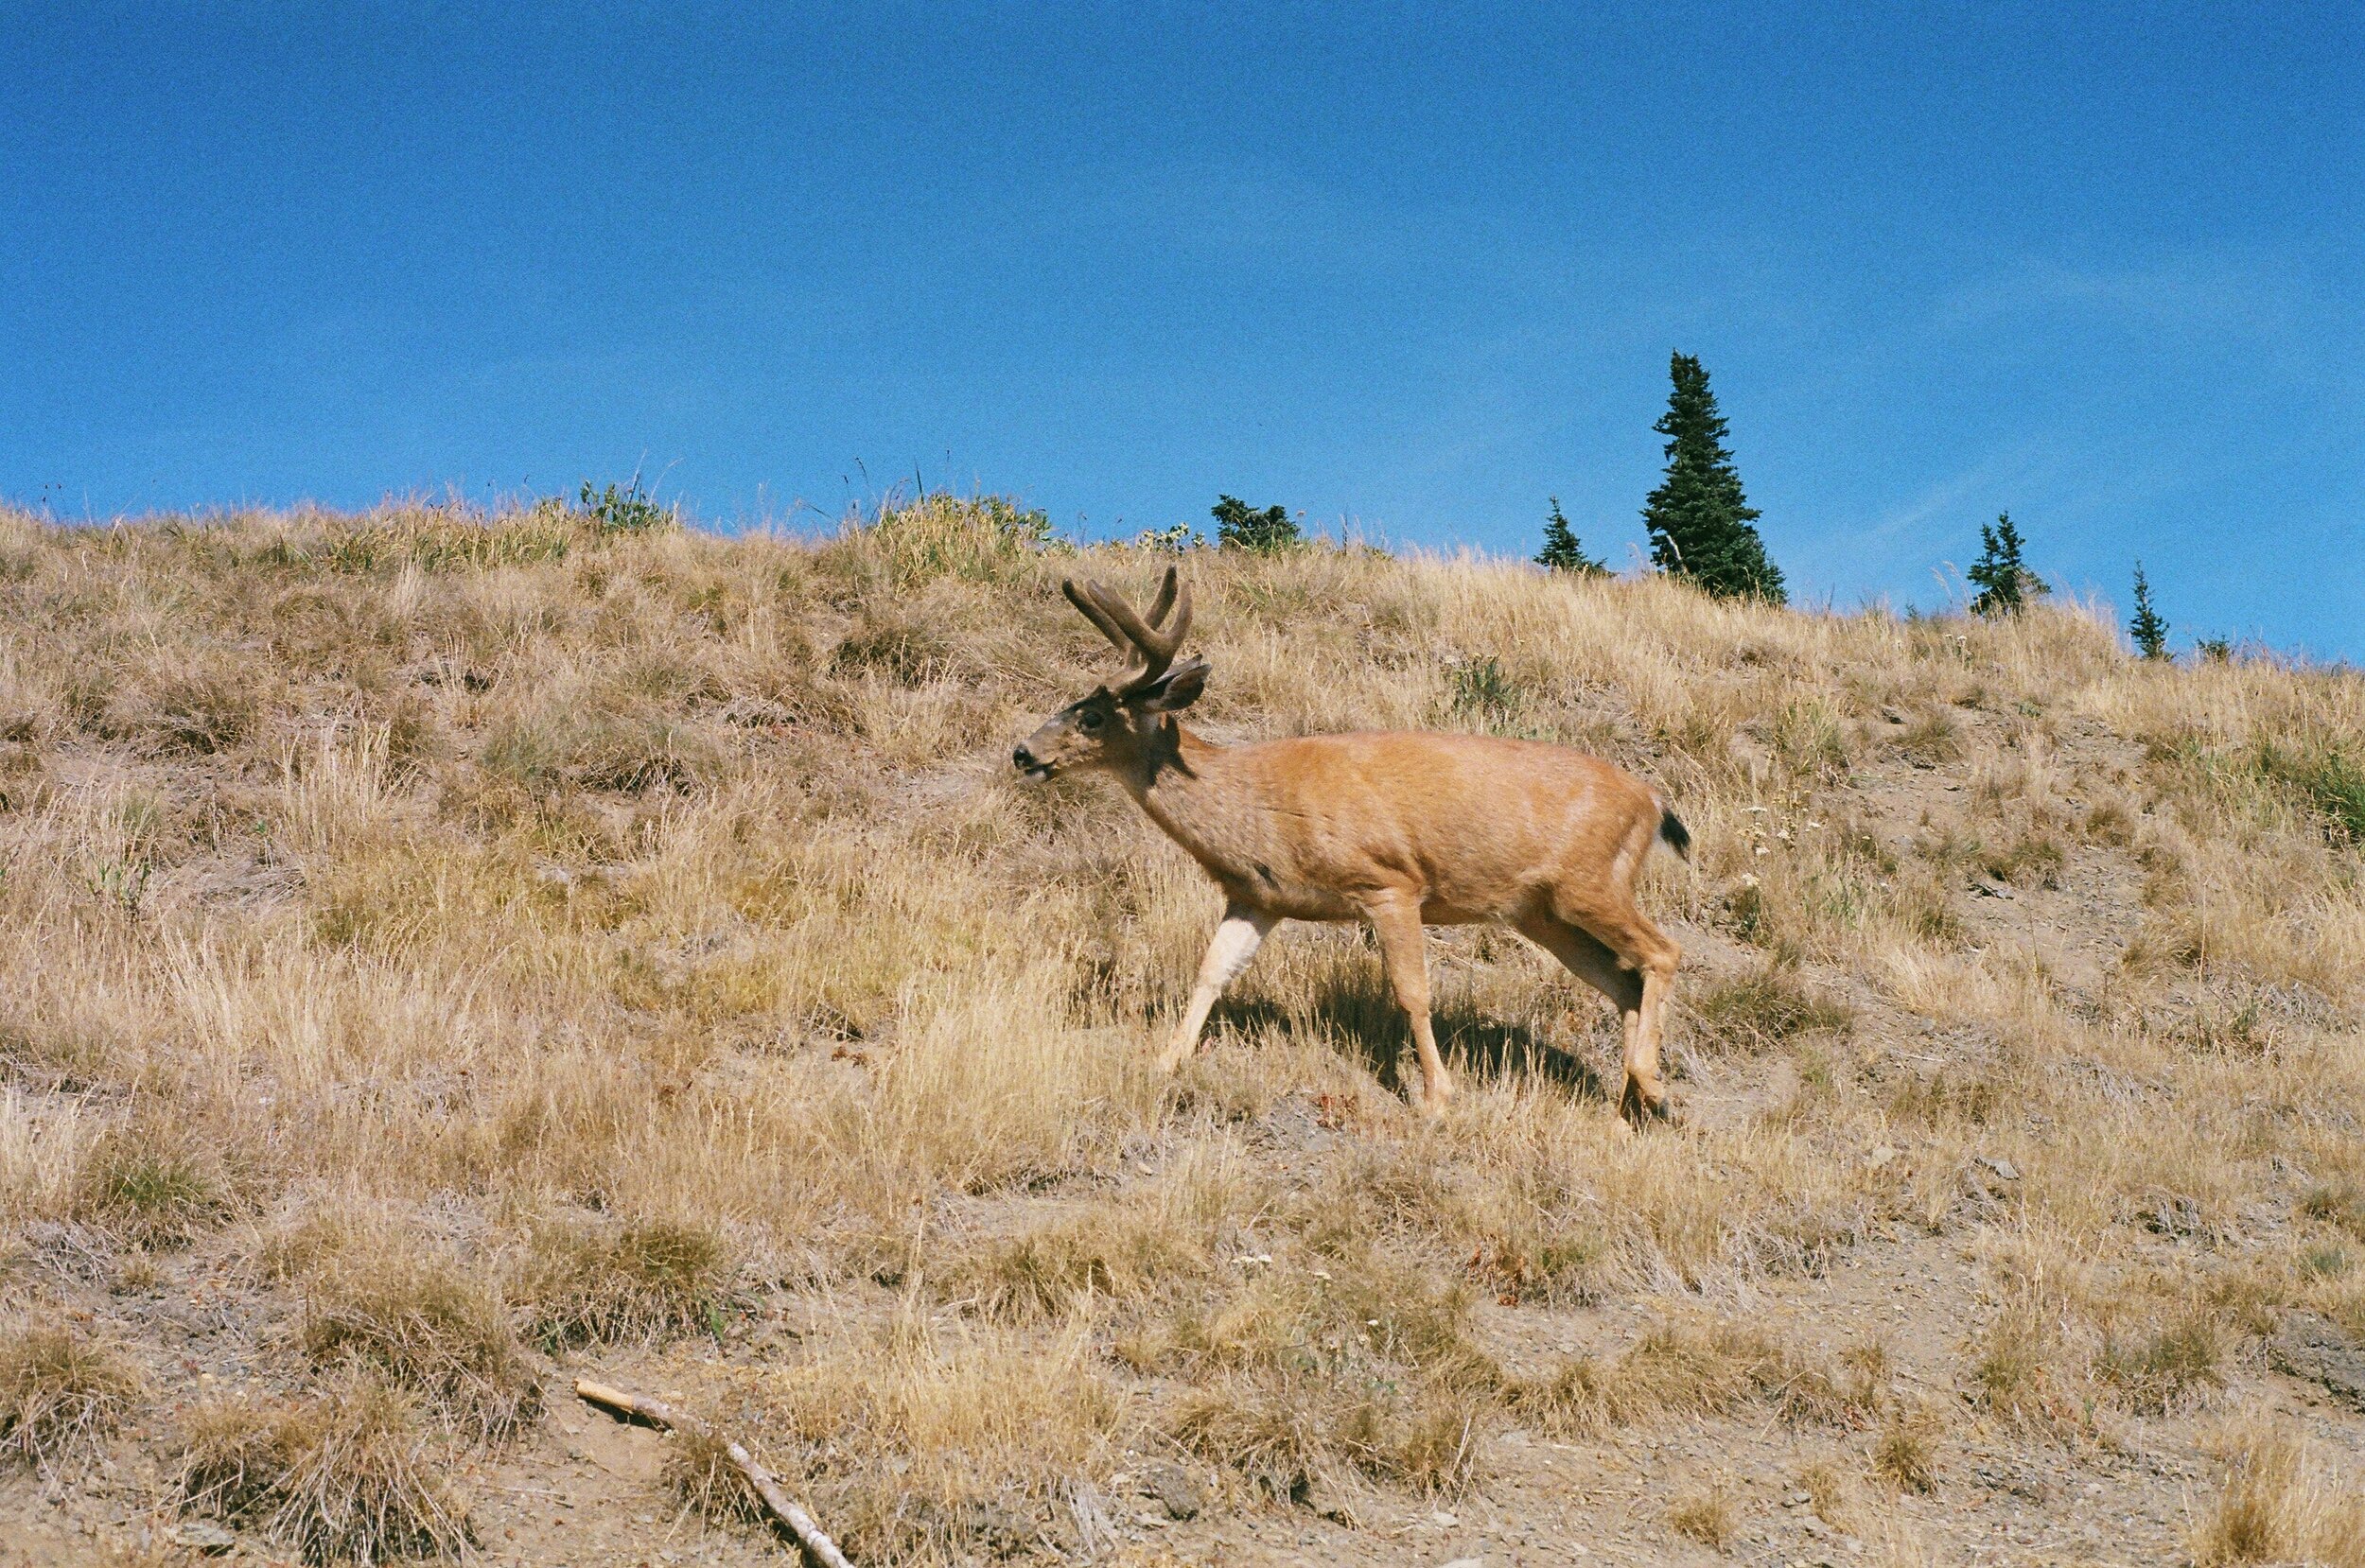
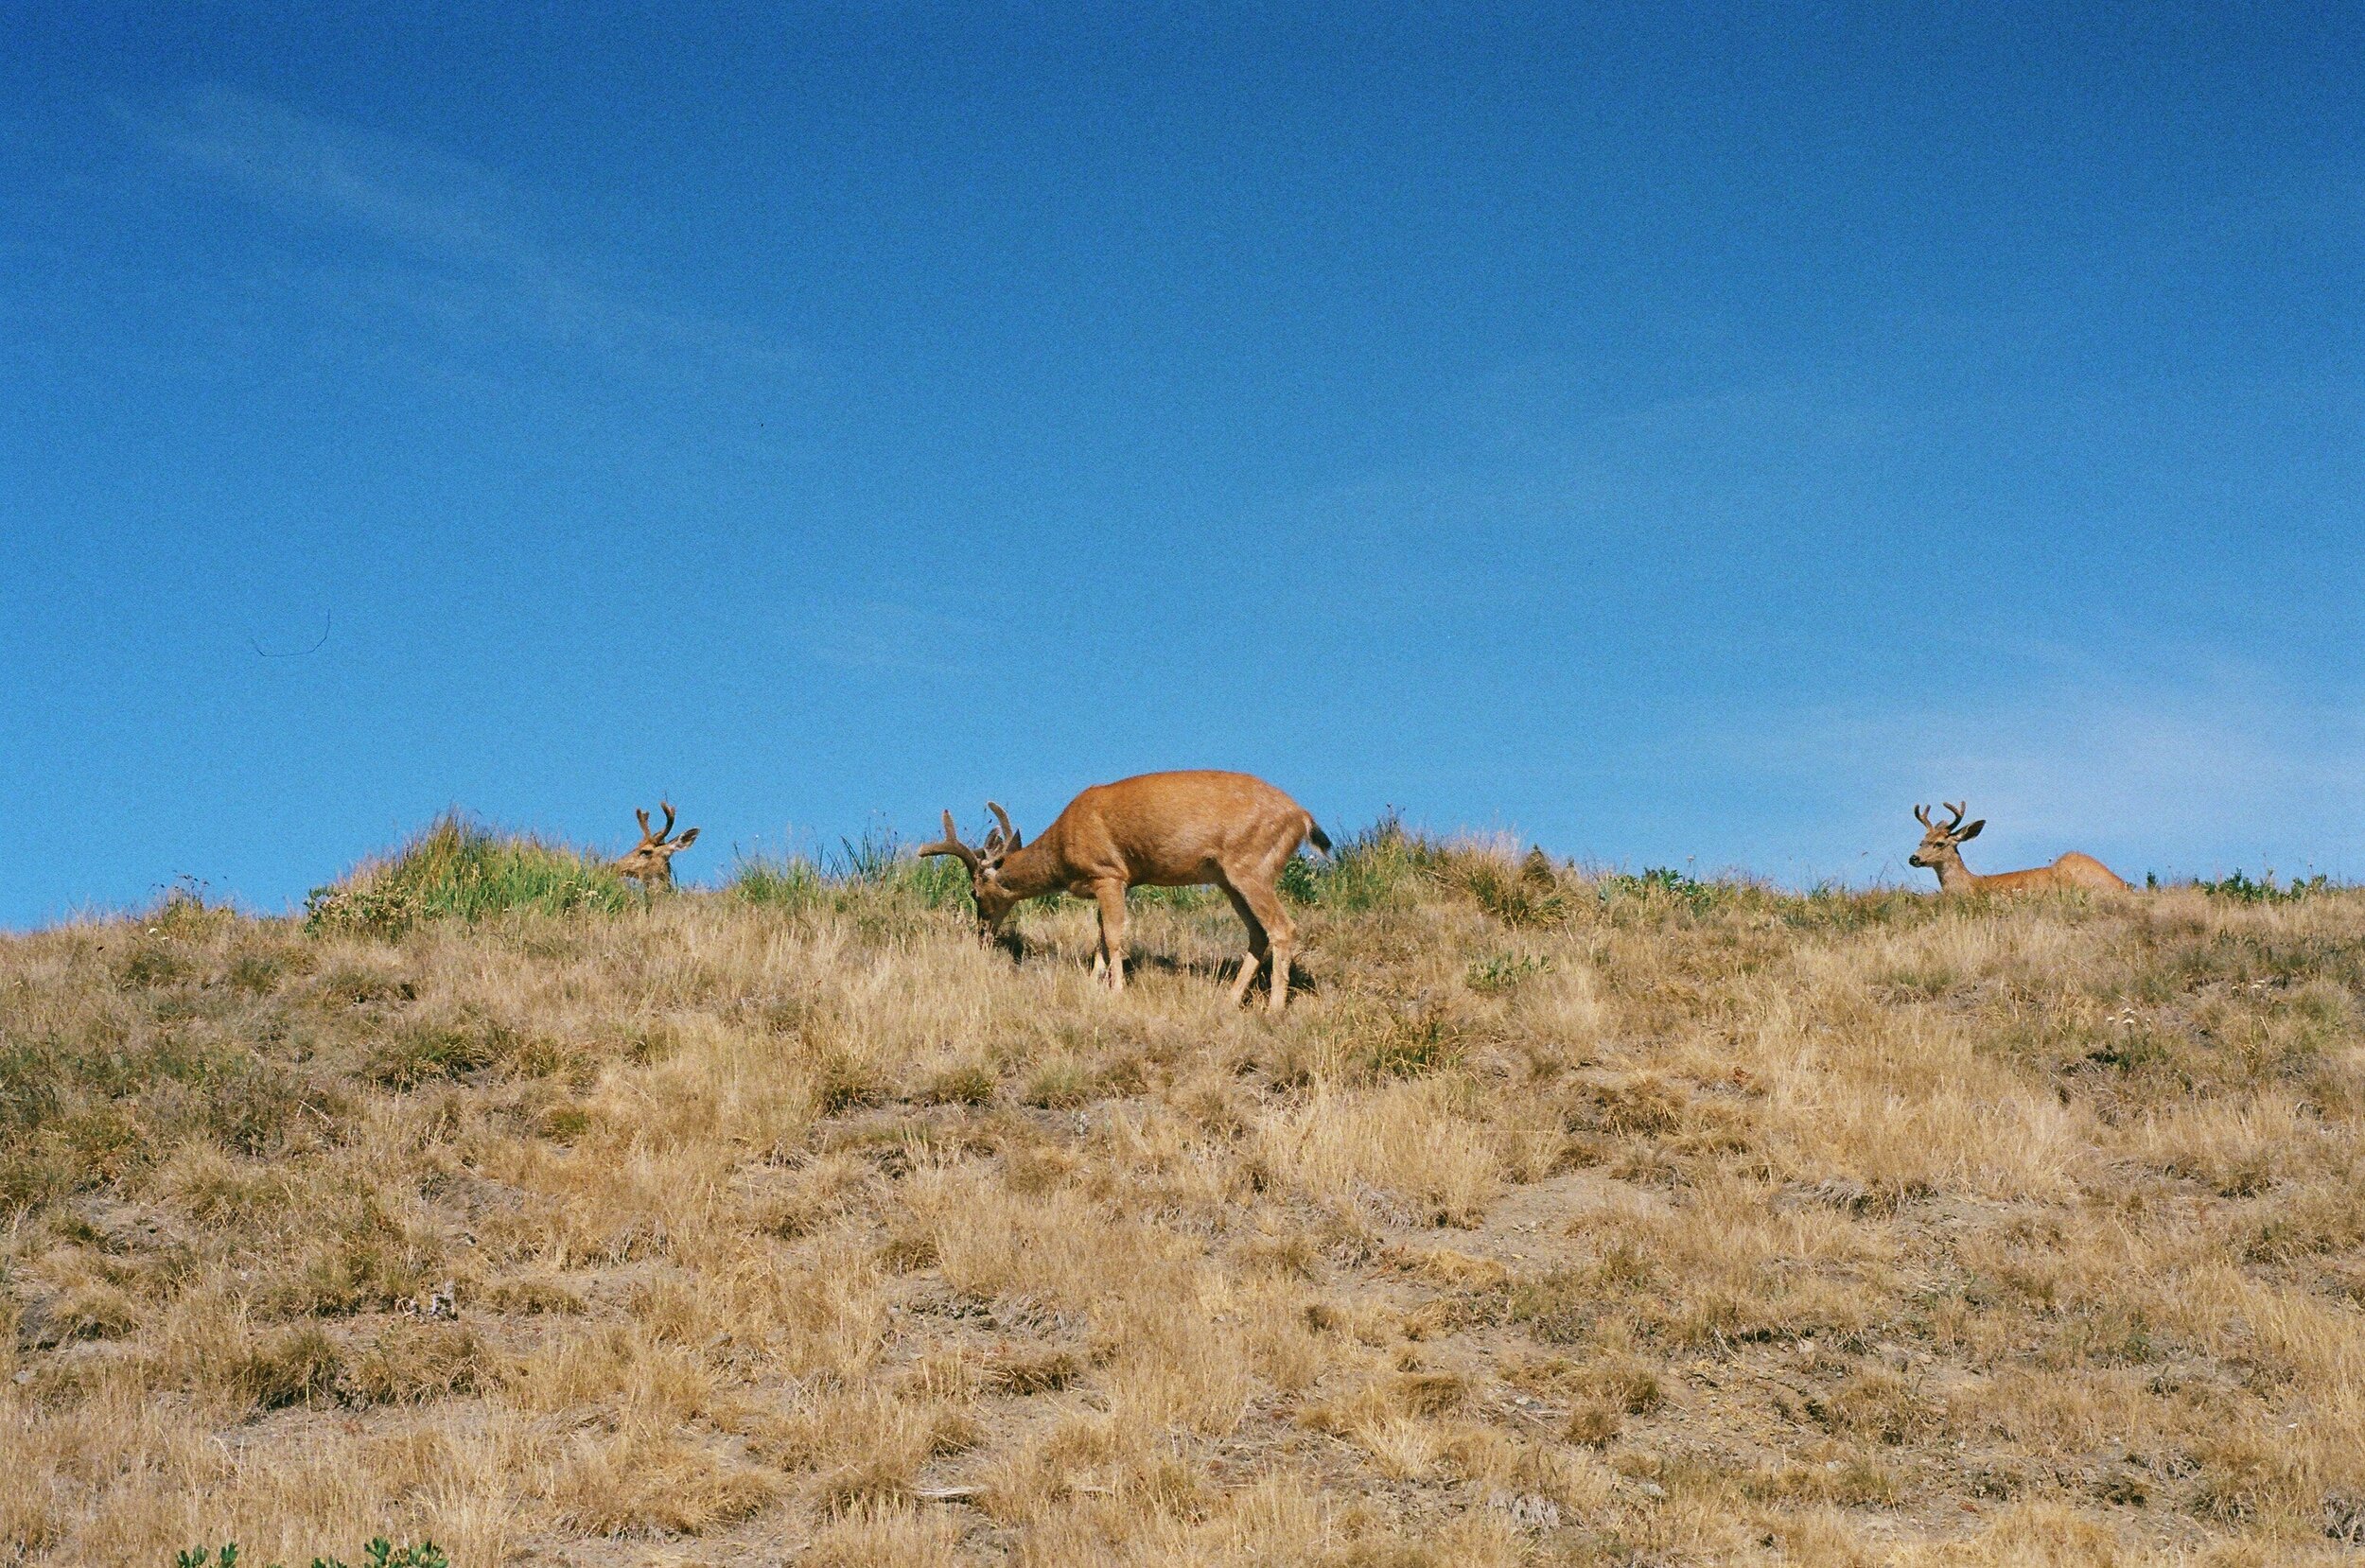
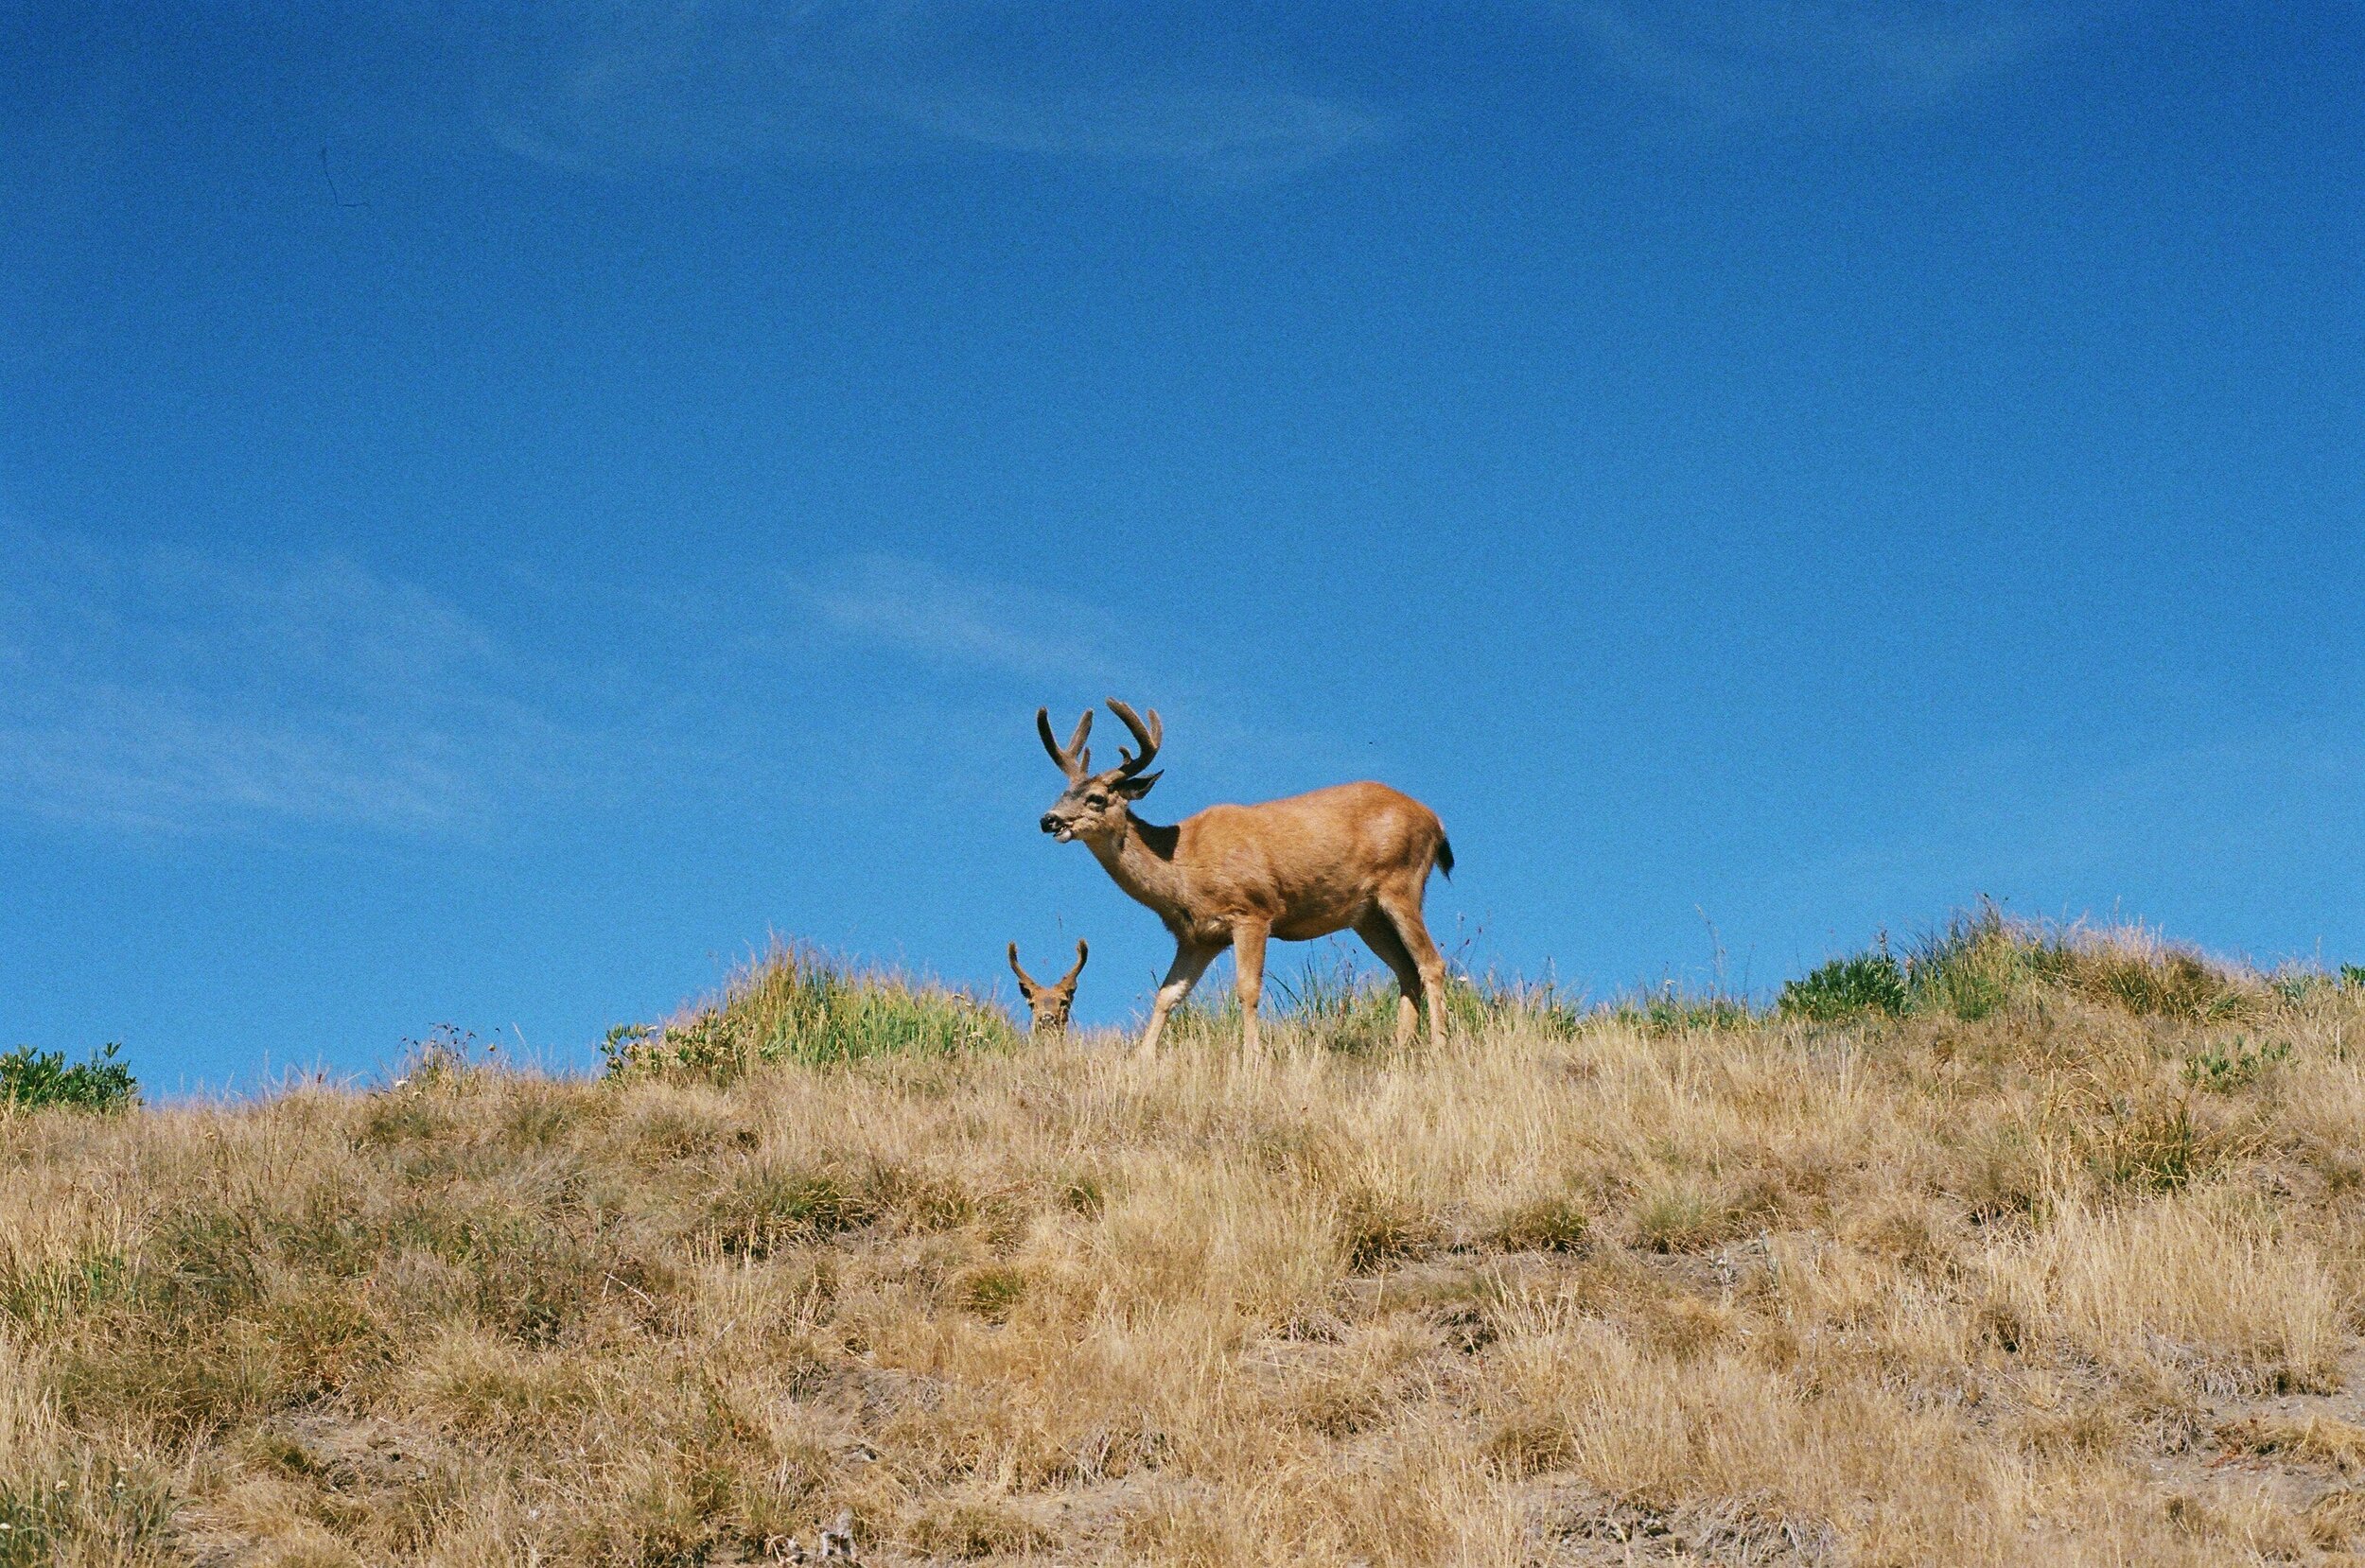
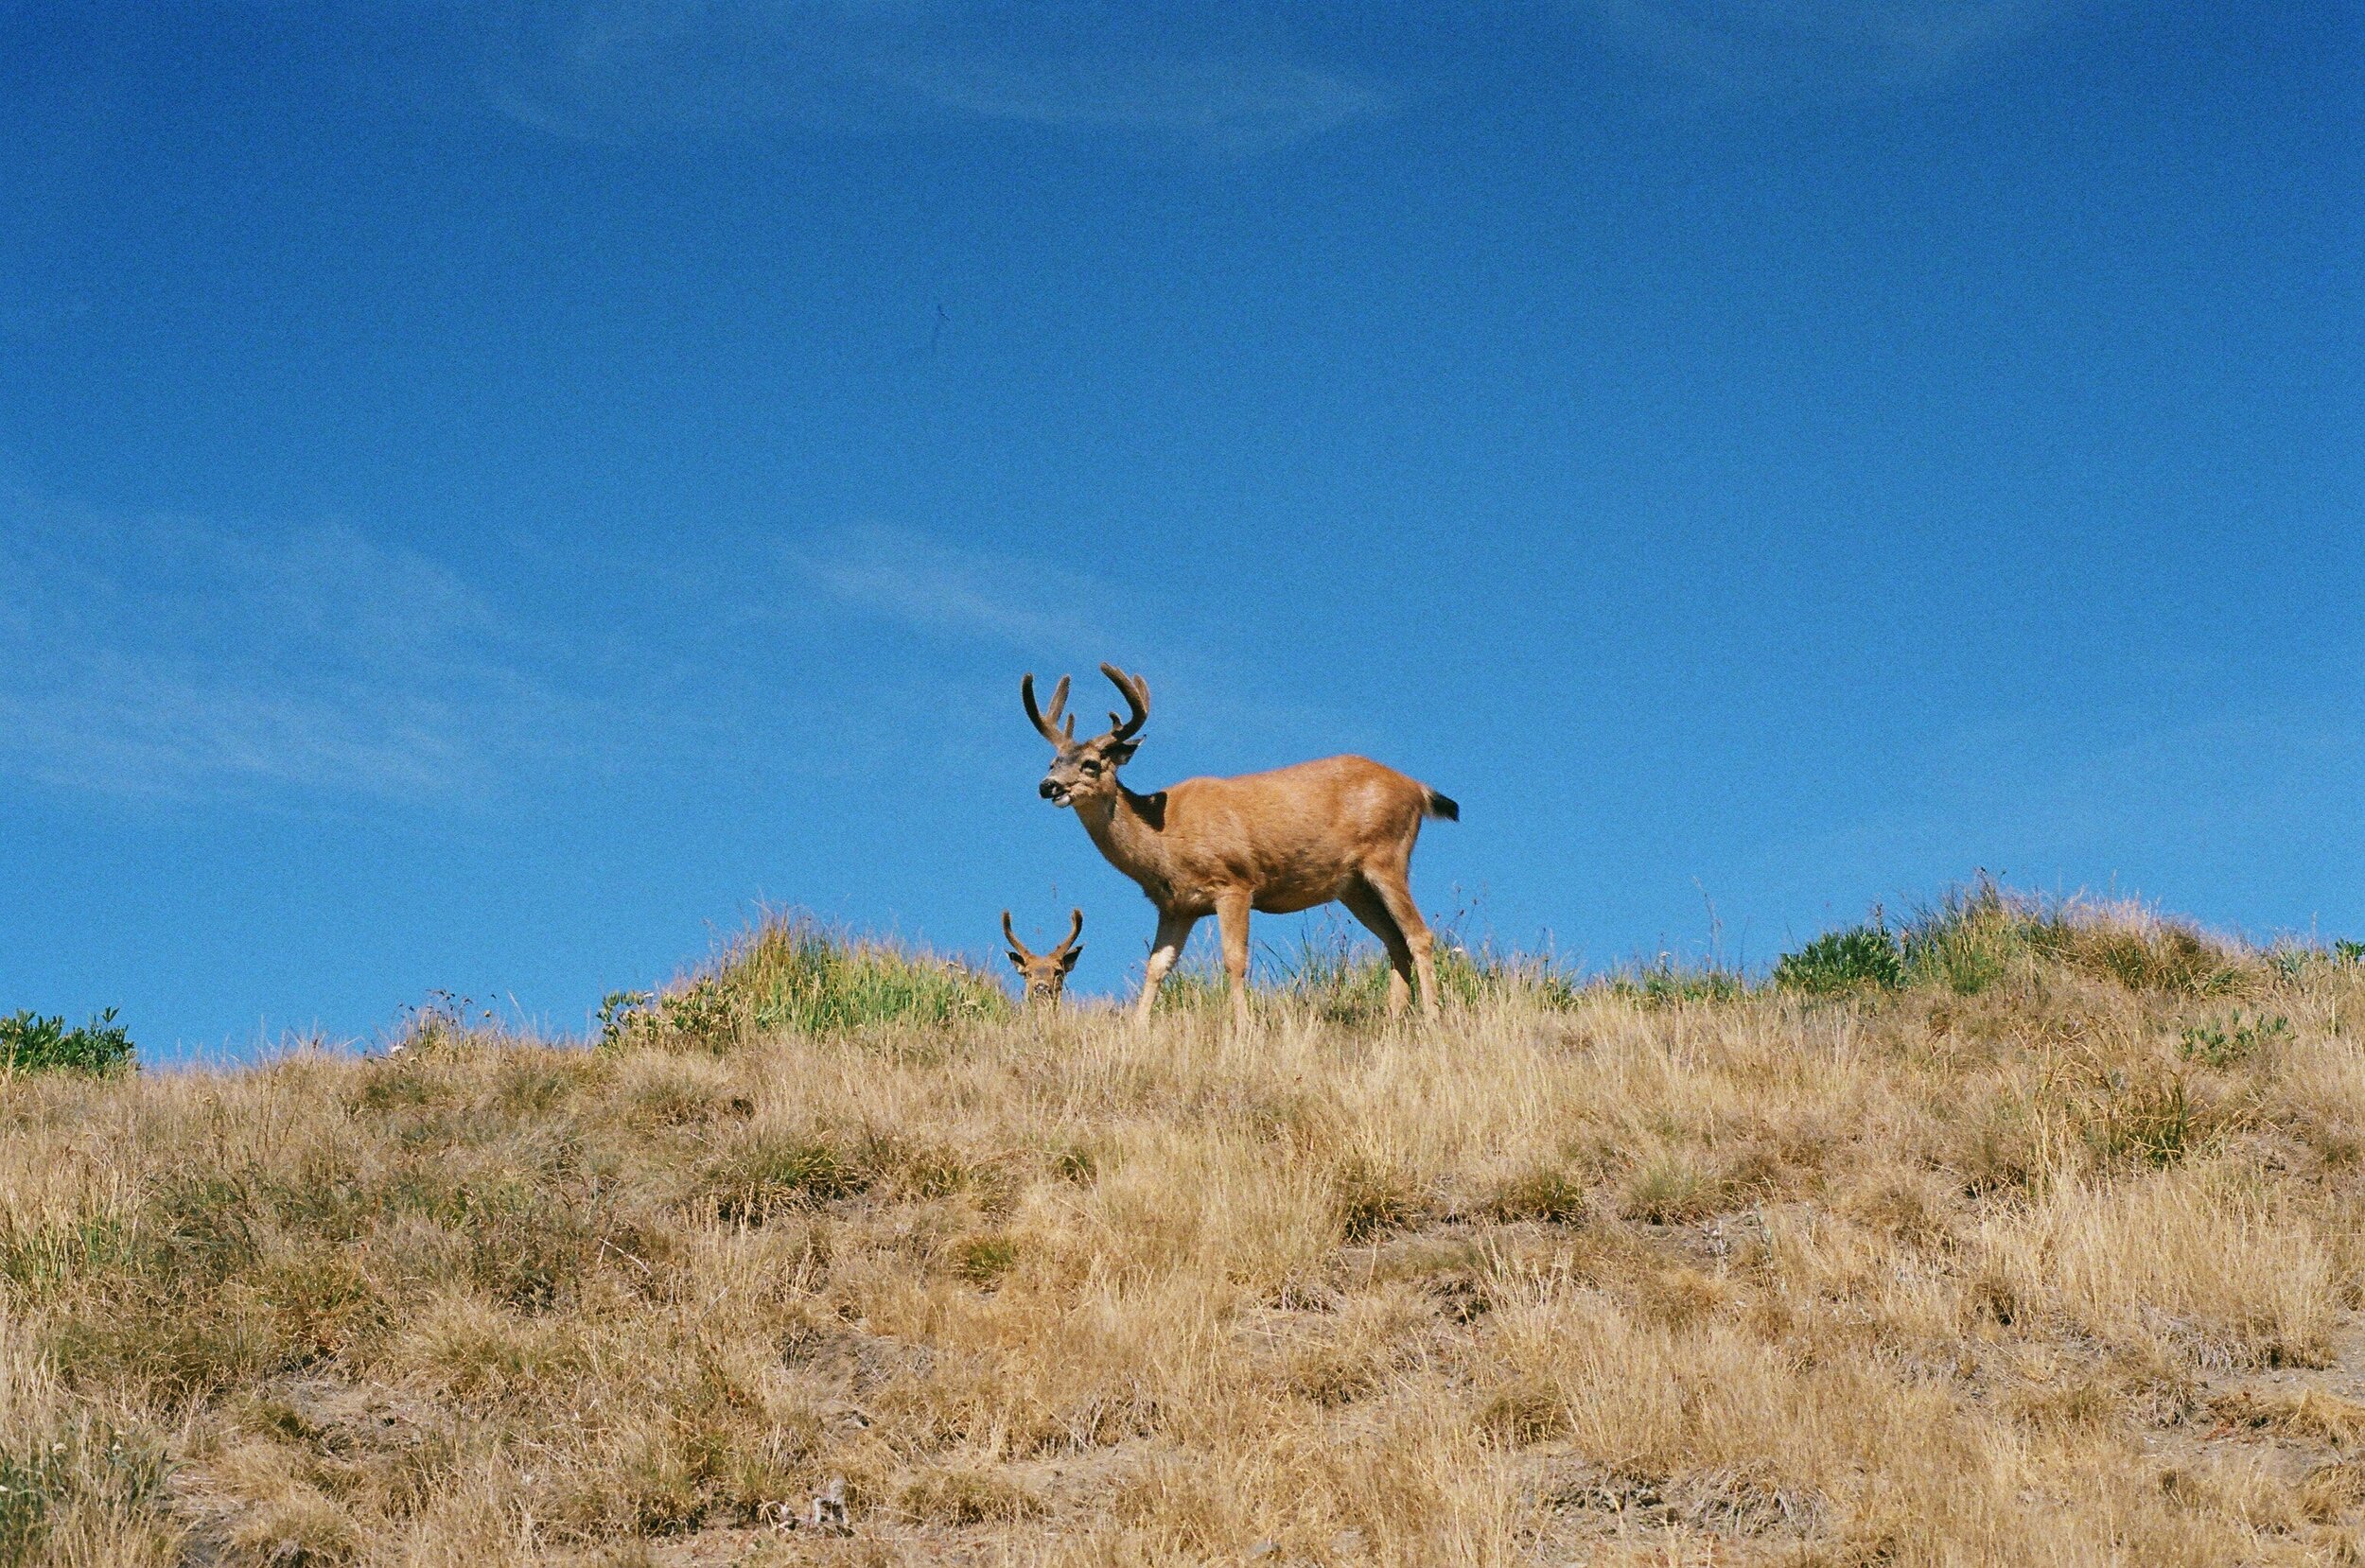
For these first few photos, we are heading to Olympic National Park, specifically Hurricane Ridge. This is my first time at this location and I’m going to be honest, I think it’s way overhyped. Don’t get me wrong it’s a nice place to be and has some nice views but you’re essentially just looking at distant ridgelines. It reminds me of Paradise at Mt. Rainier National Park but with a lot less to do. This is a place that I would suggest visiting if you’re already hitting other places in Olympic National Park, not a place that I’d spend the currently $30 entrance fee to solely go to. The highlight of my Hurricane Ridge trip was actually leaving because right as I pulled out of the parking lot, a couple of reindeers showed up and were grazing right beside the road. They were the only thing that I photographed here. I was trying really hard to get the center deer doing something graceful but all I could get was a couple of half-open-mouthed chews. As far as Ultramax 400, something I noticed right away was the amount of grain in this film. This is kind of expected being that it’s 400 speed but even so, I would say this is on the grainier side of the spectrum. Something also pretty apparent is the shift towards the yellows. Everything looks a bit warmer than reality.

Moving on, we are continuing our journey along the Olympic peninsula and stopping at a place called Ruby Beach. This was our last destination for the night and we arrived just as the sun was setting. This picture was taken pretty much at the parking lot and just as you begin the trek down to the beach. I actually really like this view and do plan to come back here at a future time.

Next, we are down on the beach, essentially looking at the large rocks from the previous photo. Here, the sun is just on the horizon, on the left edge of the photo, just out of frame. For this, I wanted to expose for the sky and just get a silhouette of the rocks. I wouldn’t necessarily say that I got what I wanted on film, but here’s another picture that I took of the same location but different composition. I think this composition was stronger than trying to get all the rocks in frame.

For the next few photos, we head to The Needle Lounge, a local tattoo shop in Lakewood, WA. I did this to change it up and get some indoor environmental portraitures. This kind of shows what the film can do indoors with just the artificial lighting of the room. Again, I would say that there’s some pretty noticeable grain. Also, with pictures like these where we have more definable subjects, I would say that it shows that the film stock is a bit soft and there isn’t a lot of fine details. Everything just has a softness to it, even the in-focused bits.

Next up, we have a couple more sunset photos from one of my drives near home. Again, exposed for the sky with silhouette foreground. Something that I’ve been doing a lot. With this photo, I actually like the colors of the sky a lot. The camera did a good job with exposure and we can see colors throughout the entire sky. Nothing’s blown out.

74720015.JPG

Now, we are going to head to Mt. Rainier National Park. This was on one of my more spontaneous trips here, heading out and arriving just before sunset. In my opinion, Mt. Rainier is one of those subjects that’s easy to take a picture of, but really hard to get something mind-blowing, especially if you’re trying to get it at sunrise or sunset. A lot of the more accessible locations are just not aligned right with the sun’s path. This was one of the nights where things were really close and the sky was lighting up, but just slightly to the side of where I wanted it to be.

74720016.JPG

I should note that with my Nikon film cameras I almost always shoot with a 50mm lens. I have wider lenses but just completely forgot them for this occasion and this is me paying the price. Things are just too close for my taste here. Again this is at 50mm and here’s the digital picture I took at 28mm. As you can see, a big difference in terms of what is actually in the frame. This is a reminder to always come prepared. Better to have a not use than to need and not have.

Here’s a look at the sky, just to the side of the mountain. Parts of it actually looked pretty good, just not where I want it to be.

Here’s another example of the 50mm focal length on film versus 30mm on digital.

For the next few photos, we are heading to Chambers Bay, a local park and pretty well-known golf course. Again, at sunset. I just realized as I’m making this post that almost the entirety of this roll was taking around sunset. For the first photo, I’m just shooting through the three lonely freestanding trees. I didn’t think that this would be anything, and realistically it’s a snapshot but it doesn’t look too bad. The colors in the sky are soft and have a nice gradient. We can see the sun setting directly in the middle which the camera exposed for and we, again, get the silhouetted foreground.

Another similar shot but with a different subject.

This one, I did the same thing but looking back, I should’ve exposed with more emphasis on the foreground because upon review of these images, even I’m like what is that? In the foreground is actually a passing train. I think in the case exposing somewhere in the middle would’ve been the best route but then the sky wouldn’t look all the great and the train wouldn’t look all that great. So are the limitations of this type of film photography. You just got to live with it and know what you’re getting into.

This next one isn’t really anything special in terms of subject but I wanted to show it because I actually like the colors. The warm, yellow tint of this film really plays well with the setting sun behind me.

Here’s another example of that. The subject is just some giant manmade rock structures but the colors don’t look too bad at sunset.

Finally, with the last few photos, we head to Alki Beach in West Seattle for another sunset. Here’s a look at the skyline. This is typically a snapshot like something you’d see in a family photo album.

Next, I don’t even know what this is. I remember it being a lot better of a composition in person but actually seeing it on screen is something else.

This one is a bit better. It’s me, shooting through the branches of that last tree to get another angle of the Seattle skyline. This would’ve looked better with the Space Needle in the center but then the right portion of the skyline would’ve been cut out more and there really isn’t anything to the left.

Here’s one of a pier along the boardwalk.

Connected to that pier is this little stairway leading to the beach. As you can see, it was high tide and I wanted to take a piccture of this scene but I didn’t know how I wanted to do it. I actually just freehand this close to the ground without even looking in the viewfinder because I wasn’t going to lay in the sand for something I knew I was likely not going to care for. And because I did that, the horizon is lopsided.

Then with this final picture, I was actually setting the camera up on a tripod, getting ready to use the self-timer for the first time. But not fully knowing how to do that, the camera actually took a picture when I didn’t want it to and I didn’t even get a chance to go in. Oh well, lesson learned.

And that’s it guys. A look at Kodak Ultramax 400 with some views around Washington state. Overall, this is a pretty grainy film. It’s not that sharp and the colors lean towards the yellows. Those things are pretty apparent. But considering that this film stock was developed to be budget friendly and for everyday cataloging, I’m not mad about it. I think if you understand the characteristics of this film, you can definitely use it towards your advantage, particularly to get some pretty nice colors.


If you're considering buying any of the products mentioned, please support my work by using the links below.

Kodak Ultramax 400 https://amzn.to/3jh4XVe

Nikon N2020 https://amzn.to/3gsi7wA


Want to support my work?

Consider visiting the shop and buying "Absolutely Nothing"
https://www.HaiHoangTran.com/shop/absolutely-nothing

or

Become a YouTube member!

https://www.youtube.com/channel/UCLUO-2ltlWfydRZ7pRRnXkw/join

Become a Patron!
https://www.patreon.com/HaiHoangTran

or

Buy some official merch!
https://www.youtube.com/haitran/store

PayPal
https://www.PayPal.me/HaiHoangTran

or

Just shop on Amazon via this link!
https://amzn.to/2FgsDnG

Staircase Rapids Loop, Lake Cushman | Olympic National Park

I’ve been busy with my personal life and haven’t been able to get out and hike. When I finally got some free time, I decided to hike the Staircase Rapids Loop. This is a hike that I’ve done a few times before but it’s one of those that I enjoy enough to do multiple times.

47FE7250-600C-481A-AEF0-820CA153DB0D.jpeg

Before you decide to do this hike, you should know that the drive here is a journey in itself. The last 5 miles or so before the trailhead is just gravel and compact dirt. What makes this bad is the minefield of potholes. They are everywhere and some are quite deep. Having a vehicle with some ground clearance and tire sidewall will greatly help but not absolutely necessary. I mean, if I can make it there and back in a Toyota Corolla, almost any other vehicle can. Just take it slow because some vehicles can definitely bottom out the suspension if you try to speed through this area. Be EXTREMELY careful at the beginning where the gravel road warning sign is. Right at the transition between the paved and gravel road, there is a chunk of road missing. I won’t call this a pothole because it’s multi-feet long and pretty deep. Be aware and dodge it if you can because if you hit this thing at full speed, you’re probably not going to have a good time.

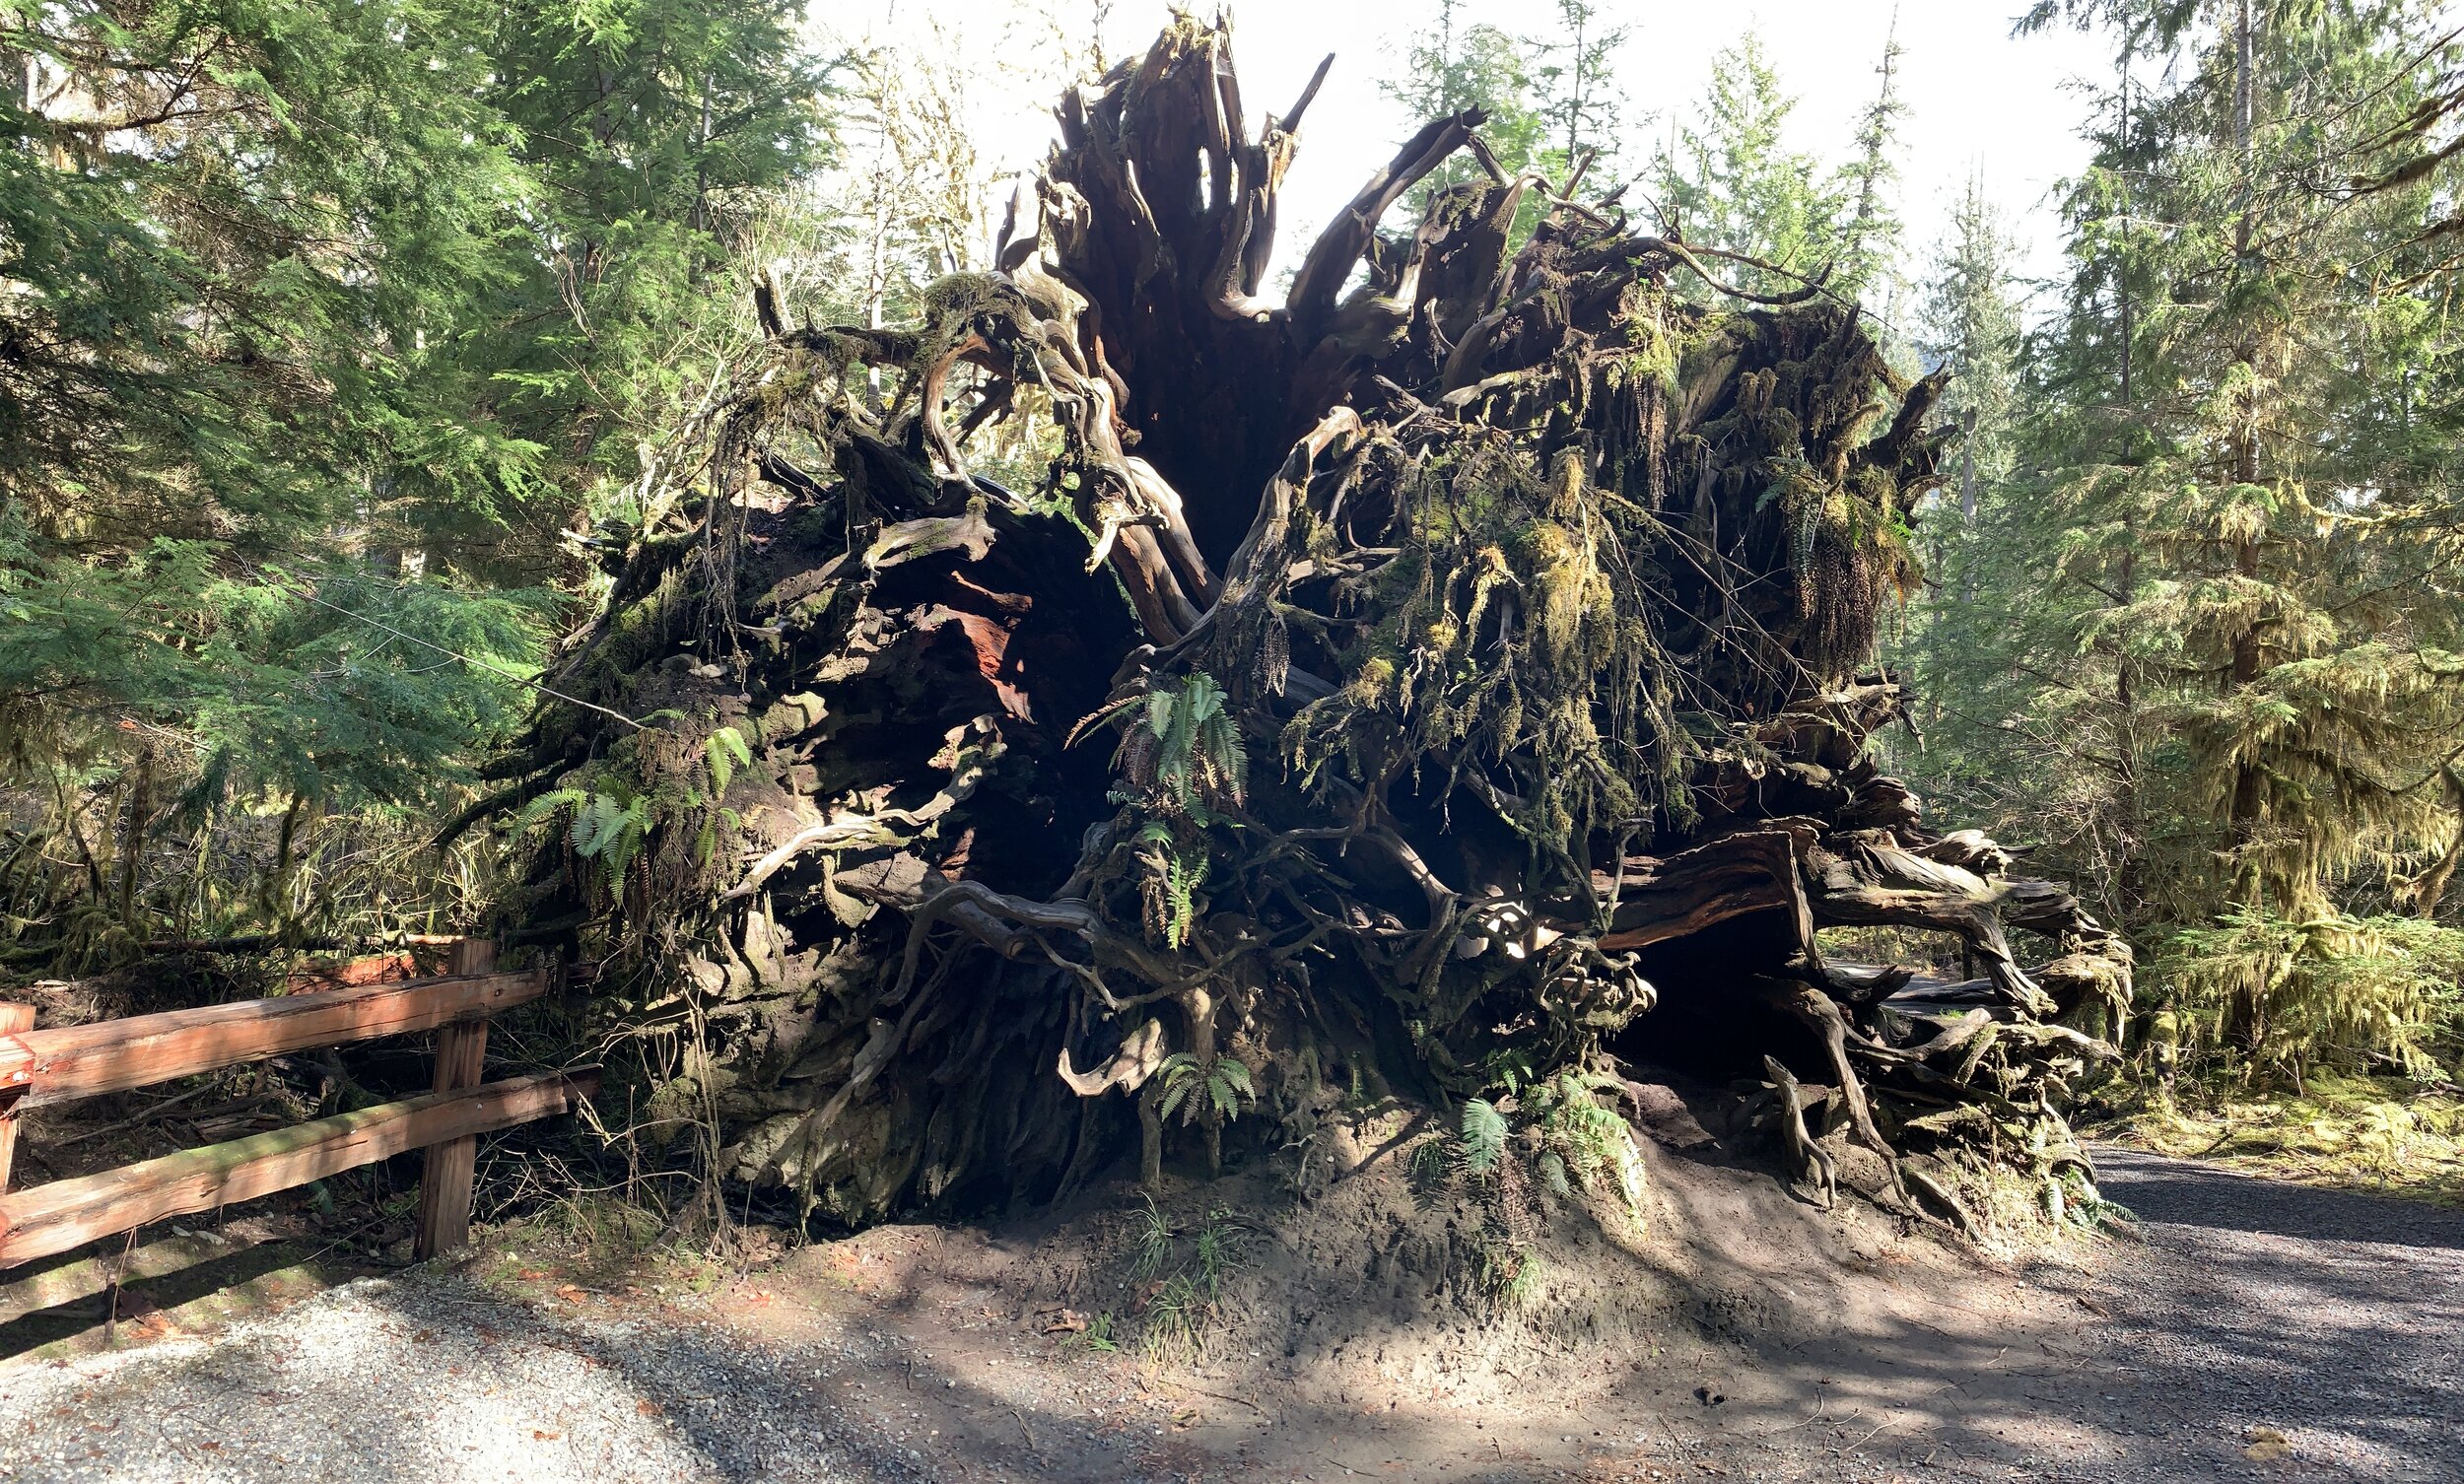
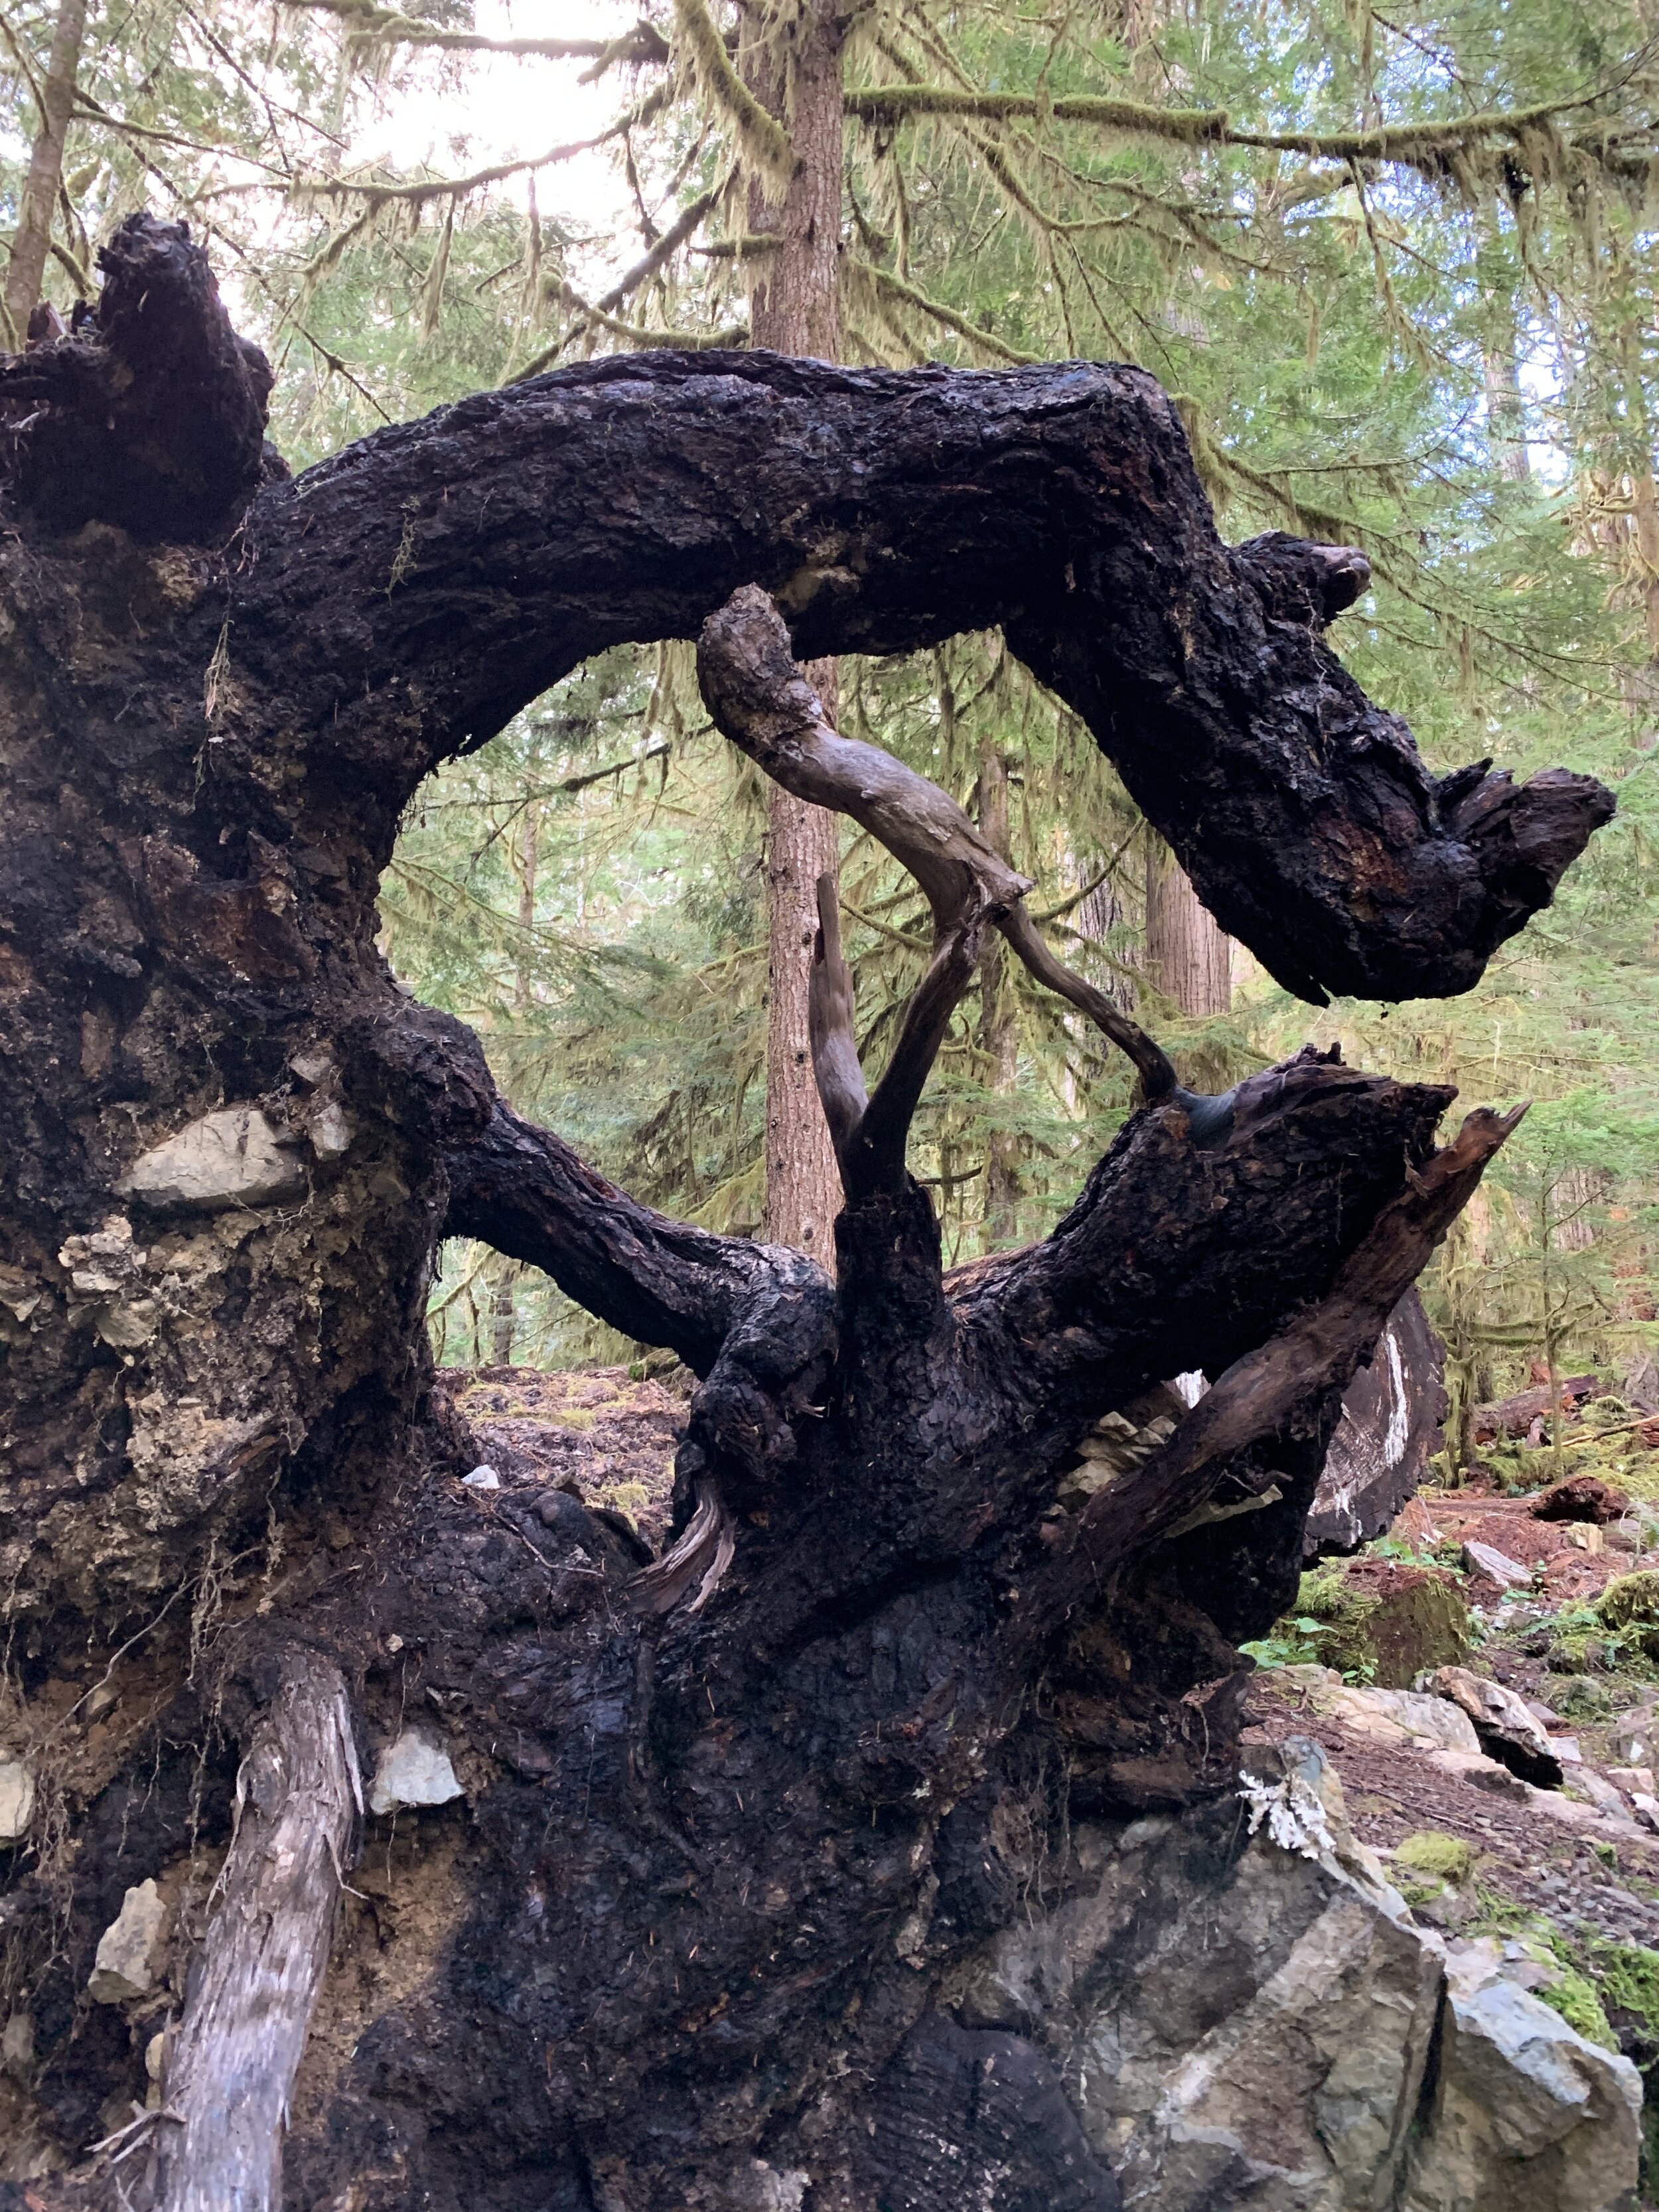
Once you make it to the trailhead, things should go pretty smoothly. This is an easy to moderate hike. A good bit of the trail is flat ground but there are some hill climbs no matter the direction you go. I like this trail because it offers some nice scenery. You get the big moss-covered trees, crowded woodland, rivers, streams, bridge crossing and a variety of other things. For the relatively little effort that you have to put in, you get a lot in return.

4511A200-6F18-4898-BC04-D89D1D064683.jpeg

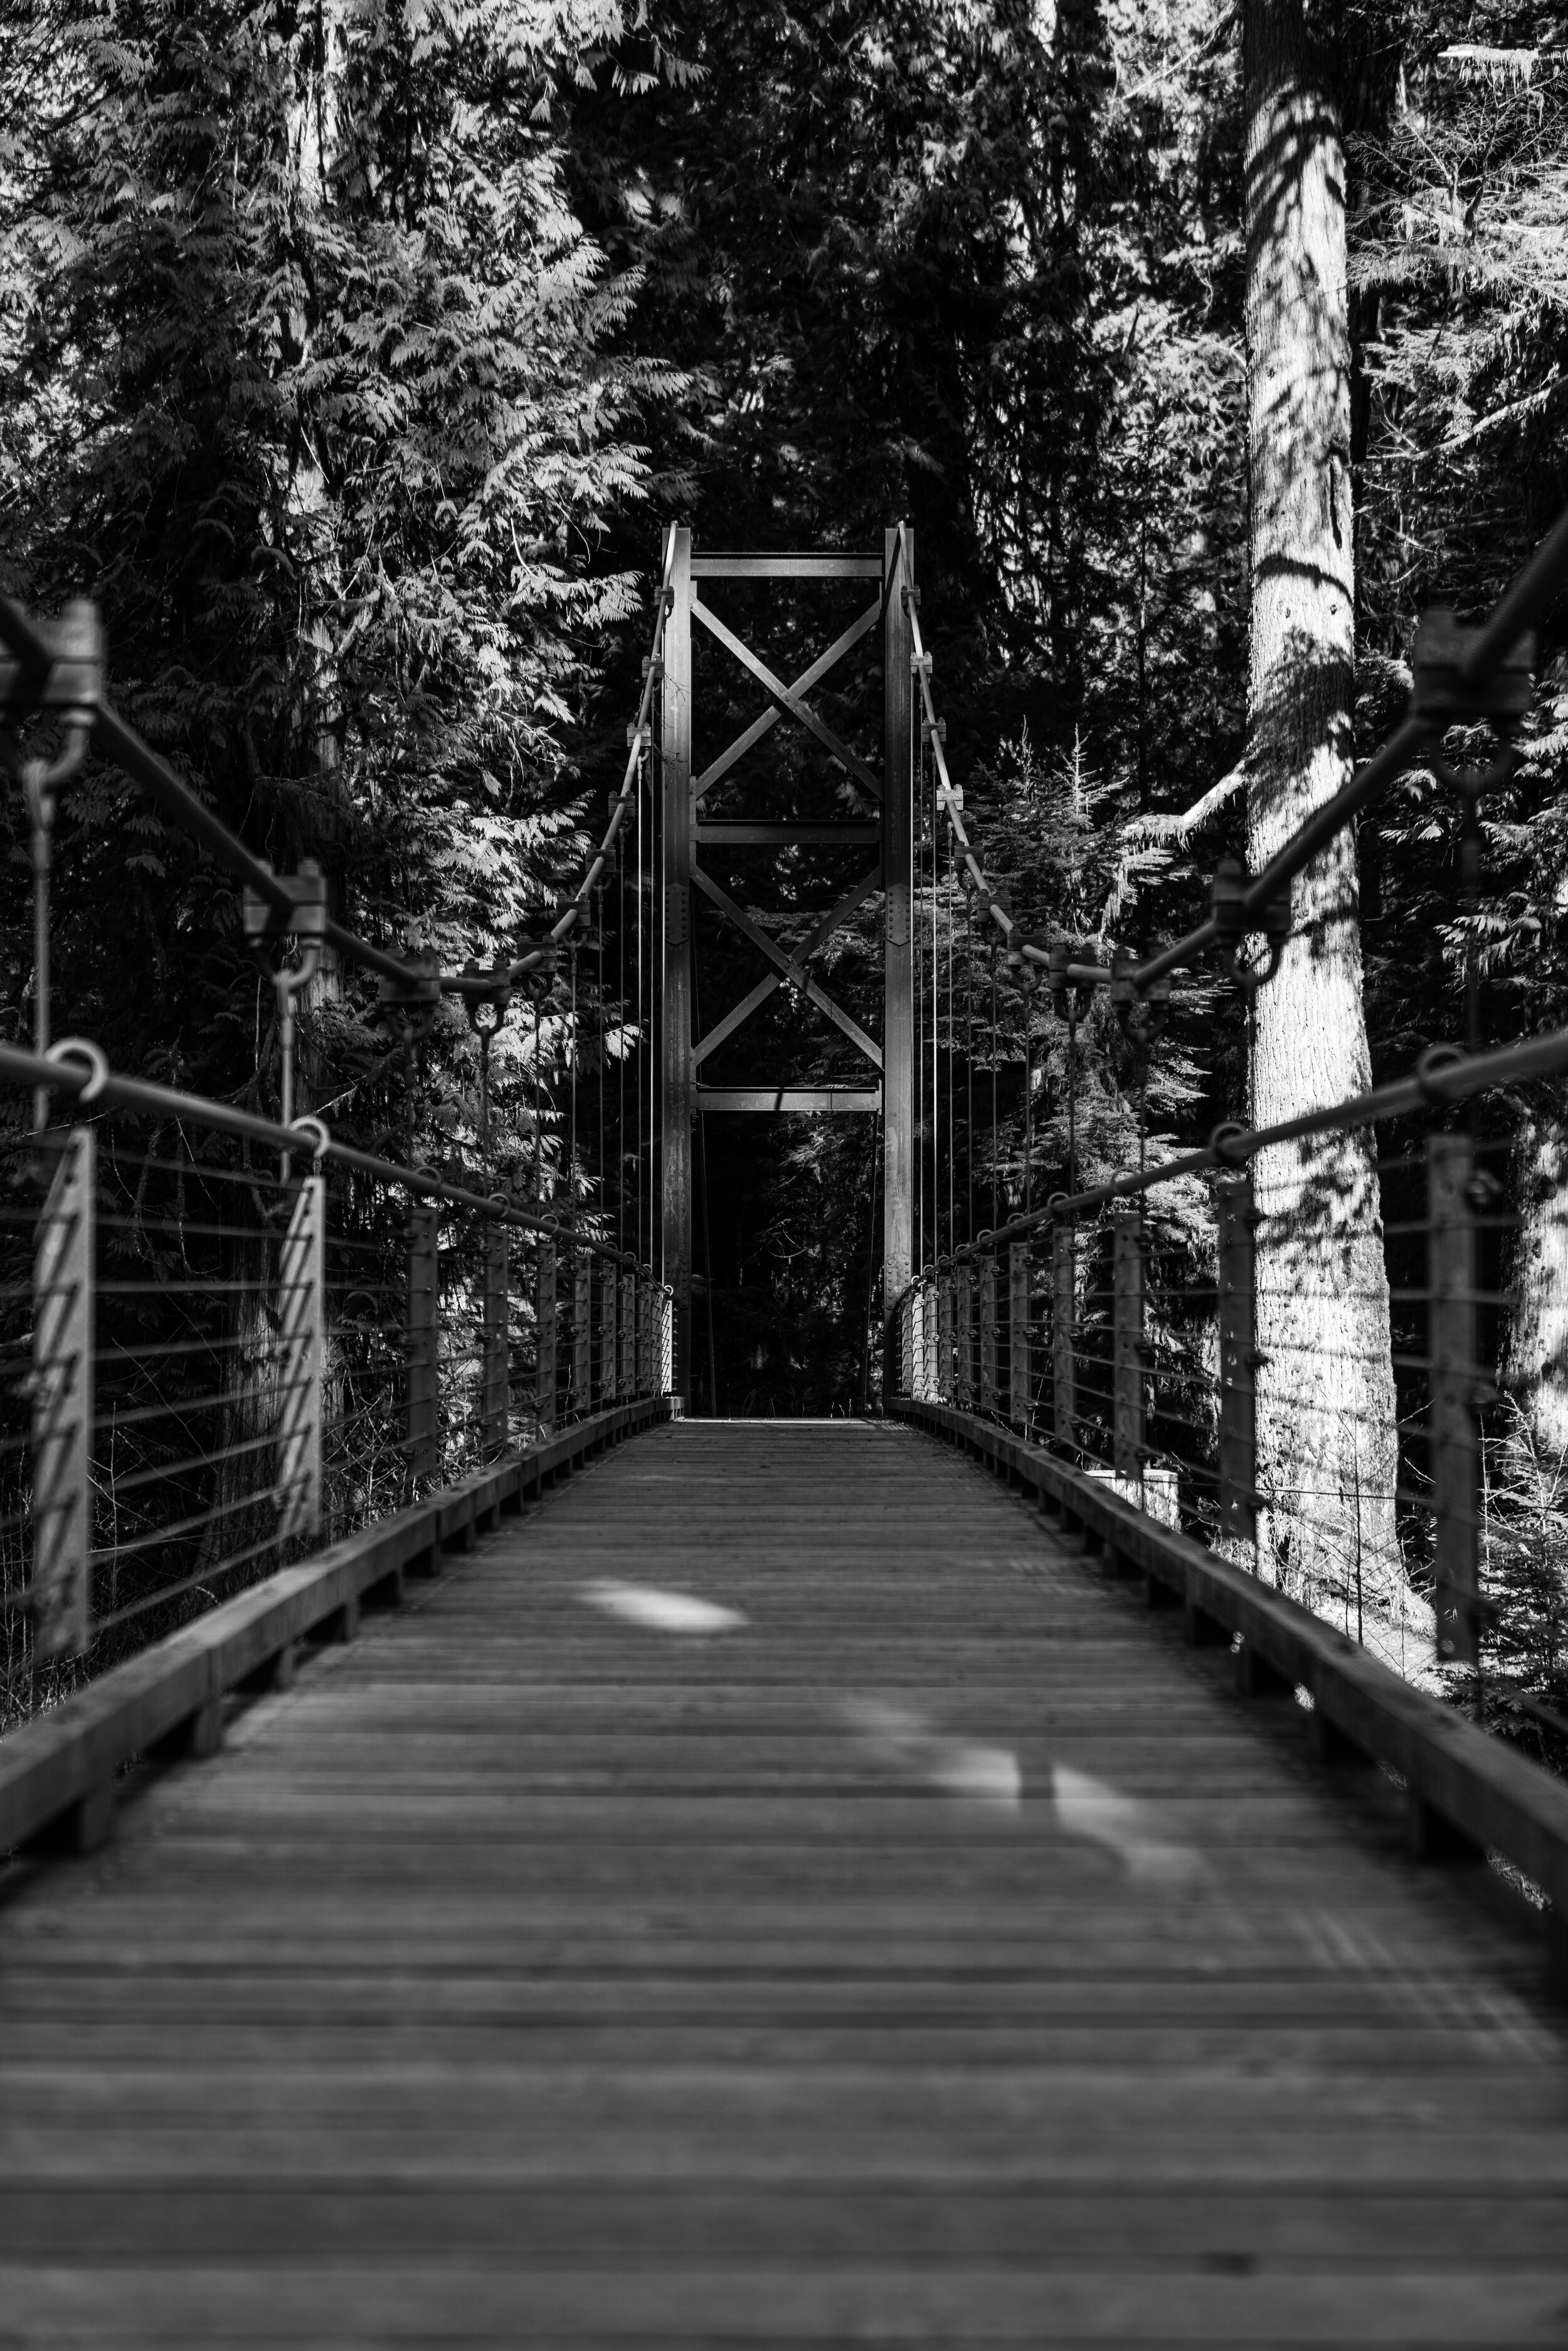
On this day, the trail was in overall good condition. There were around 6 trees that have fallen onto the trail but almost all of them can be easily walked around or stepped over. There’s only one fallen tree by the suspension bridge that may give some people trouble. This tree has fallen just so that there’s enough space for a smaller person to squat (knees to chest) and shift their way under or a bigger person to use the other fallen trees to climb on top of the trunk and make an approximately 4 feet high jump. Some people may not be able to do either of these things and at that point, there isn’t much else to do but crawl under the trunk.

Aside from that, there wasn’t much to complain about. It’s been raining in the area so mud was kind of expected but I found that all the patches of mud can be easily walked around. That being said, there were quite a few footprints in the mud. I would assume that these people just wanted to walk through the mud because again, you can easily walk around it.

I should also mention that I was hit by a few bugs. It happened less than a handful of times so maybe I just got unlucky. Spring is just around the corner so you can expect to start seeing more bugs in the future.

Overall, this is a hike that I can recommend. The road to the trailhead may be a nightmare but the trail itself is quite enjoyable. Definitely give this one a try.


Want to support my work?

Consider visiting the shop and buying "Absolutely Nothing"
https://www.HaiHoangTran.com/shop/absolutely-nothing

or

Become a Patron!
https://www.patreon.com/HaiHoangTran

or

PayPal
https://www.PayPal.me/HaiHoangTran

or

Just shop on Amazon via this link!
https://amzn.to/2FgsDnG

Darlin Creek Preserve - Wetland Forest Loop Trail | Olympia, WA

I recently visited the Darlin Creek Preserve for the first time and hiked one of its trails. The video above gives you a good idea of what the preserve looks like and below is some additional useful information.

Getting to the trailhead at around 11 AM, there were two other cars in the parking lot. It's a small lot with 11 dedicated spaces and there is no parking allowed on the other side of the road. The preserve/parking lot/trailhead is located directly at the end of a residential neighborhood. This seems to make it quite the popular dog-walking spot as I saw several locals arriving when I left. Normally I would say to arrive early in order to get a parking spot but this location doesn't seem like it's all that popular except to the people who live nearby. But from what I saw, they all walked there.

As far as the preserve, I was pleasantly surprised. I would have to say that this is my new favorite trail walk. Don't get me wrong, it's not mind-blowing or anything like that. If you've done a local hike with a lot of wooded areas, this place is going to look very similar. But, this is a short and very manageable trail walk. For inexperienced hikers or people who are looking to get outside but don't want to expend too much energy, this is the perfect place to go. 

I did the Wetland Forest Loop Trail which is around 2 miles long. The trail is clearly marked and easily navigable. On my hike, there was still some frost on the ground but nothing that caused any trouble. The trail was largely in good condition. Some portions were covered by wet leaves. This could be an issue if you're not watching where you step. There was no snow and very little mud. There was only one muddy stretch of land that was less than 50 feet long. I had no issues with bugs until the very end, passing Lake Lucinda. They all congregated in one tiny swarm that I had to walk through. 

Again, I was pleasantly surprised by this trail and can definitely recommend it. It's an easy walk with some good views. A very nice break from the city. 


Want to support my work?

Consider visiting the shop and buying "Absolutely Nothing"
https://www.HaiHoangTran.com/shop/absolutely-nothing

or

Become a Patron!
https://www.patreon.com/HaiHoangTran

or

PayPal
https://www.PayPal.me/HaiHoangTran

or

Just shop on Amazon via this link!
https://amzn.to/2FgsDnG

Porter Falls - Capitol State Forest


IMG_6866.jpeg

This year, I plan to get in as much hiking as possible. The original goal was one hike a week, which means 52 hikes total. This quickly changed to at least 26 or about one every other week because I knew that there would be weeks where I wouldn’t be able to hike. There will also be weeks where I’ll be able to hike multiple times.

For my first hike of the year, I went to Capitol State Forest and hiked to Porter Falls.

I started the hike at about 11 AM. There were 4 other cars at the trailhead but I didn't see anyone around. A few other cars were parked sporadically on the road but I have no idea what they were doing because they parked quite far from the trailhead. Even though there were a few cars at the trailhead, I only saw two people on the trail. 

The park is pretty accessible but can be problematic for some. The main difficulty of the drive resulted from the condition of the park’s roads. Once you hit the park's land, it's almost all gravel roads until you hit the trailhead. Mixed in with the gravel were rocks but they were small and manageable. The main annoyance came from all the potholes. It didn’t help that it's been raining because the potholes were essentially all filled with water so it was hard to gauge their depth. On this day, there were a few fallen branches on the road but nothing big. They were easily driven over. I drove a Toyota Corolla on this trip and was able to pretty much dodge or drive over all obstacles. That being said and if I could go back, I would've taken my truck. Having something with decent ground clearance would've made going through the park’s roads much easier and faster.

IMG_6872.jpeg

As far as the hike, it's very manageable. About one mile each way with little elevation gain. Going to the falls, it seemed like all the elevation gain was at the beginning. Coming back, all the elevation gain was near the falls. 

The trail was in overall good condition. It was mostly clear and easily navigable. There was only one stretch of land that was covered in mud. Some of it was enough to suck your shoes in. There wasn’t much dodging it unless you go out of your way off-trail. At this time of year, waterproof shoes are definitely recommended.

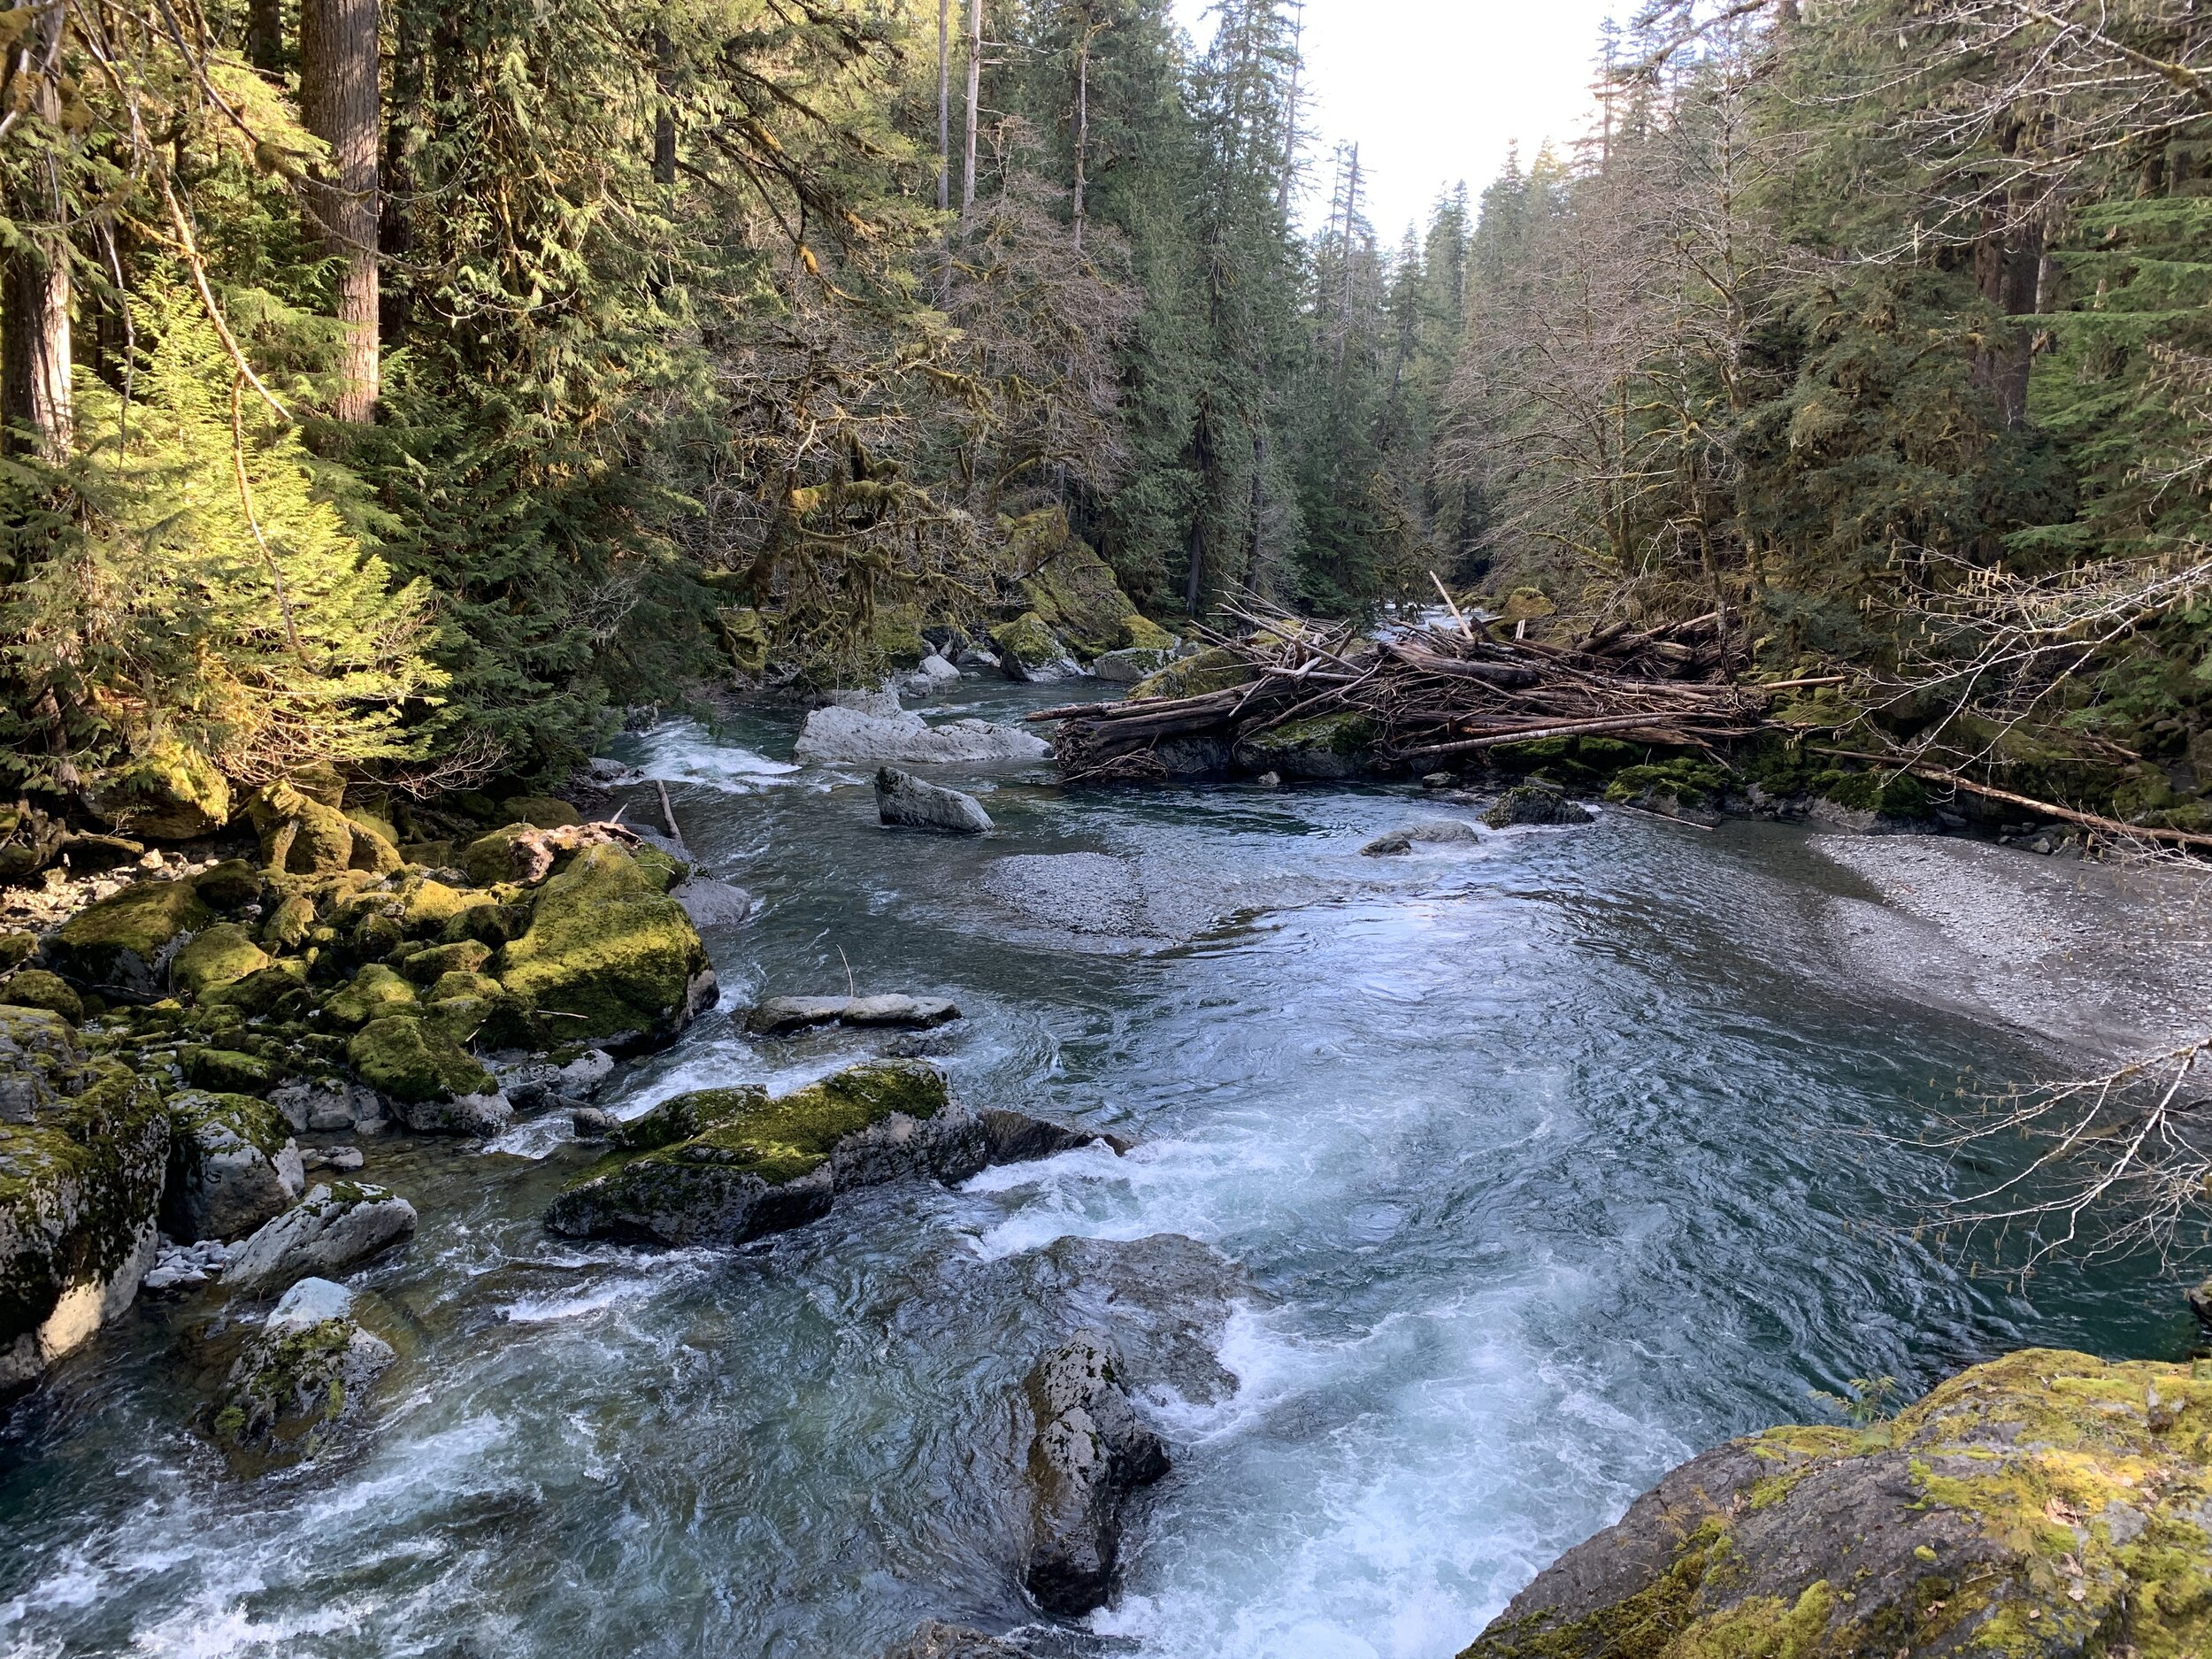
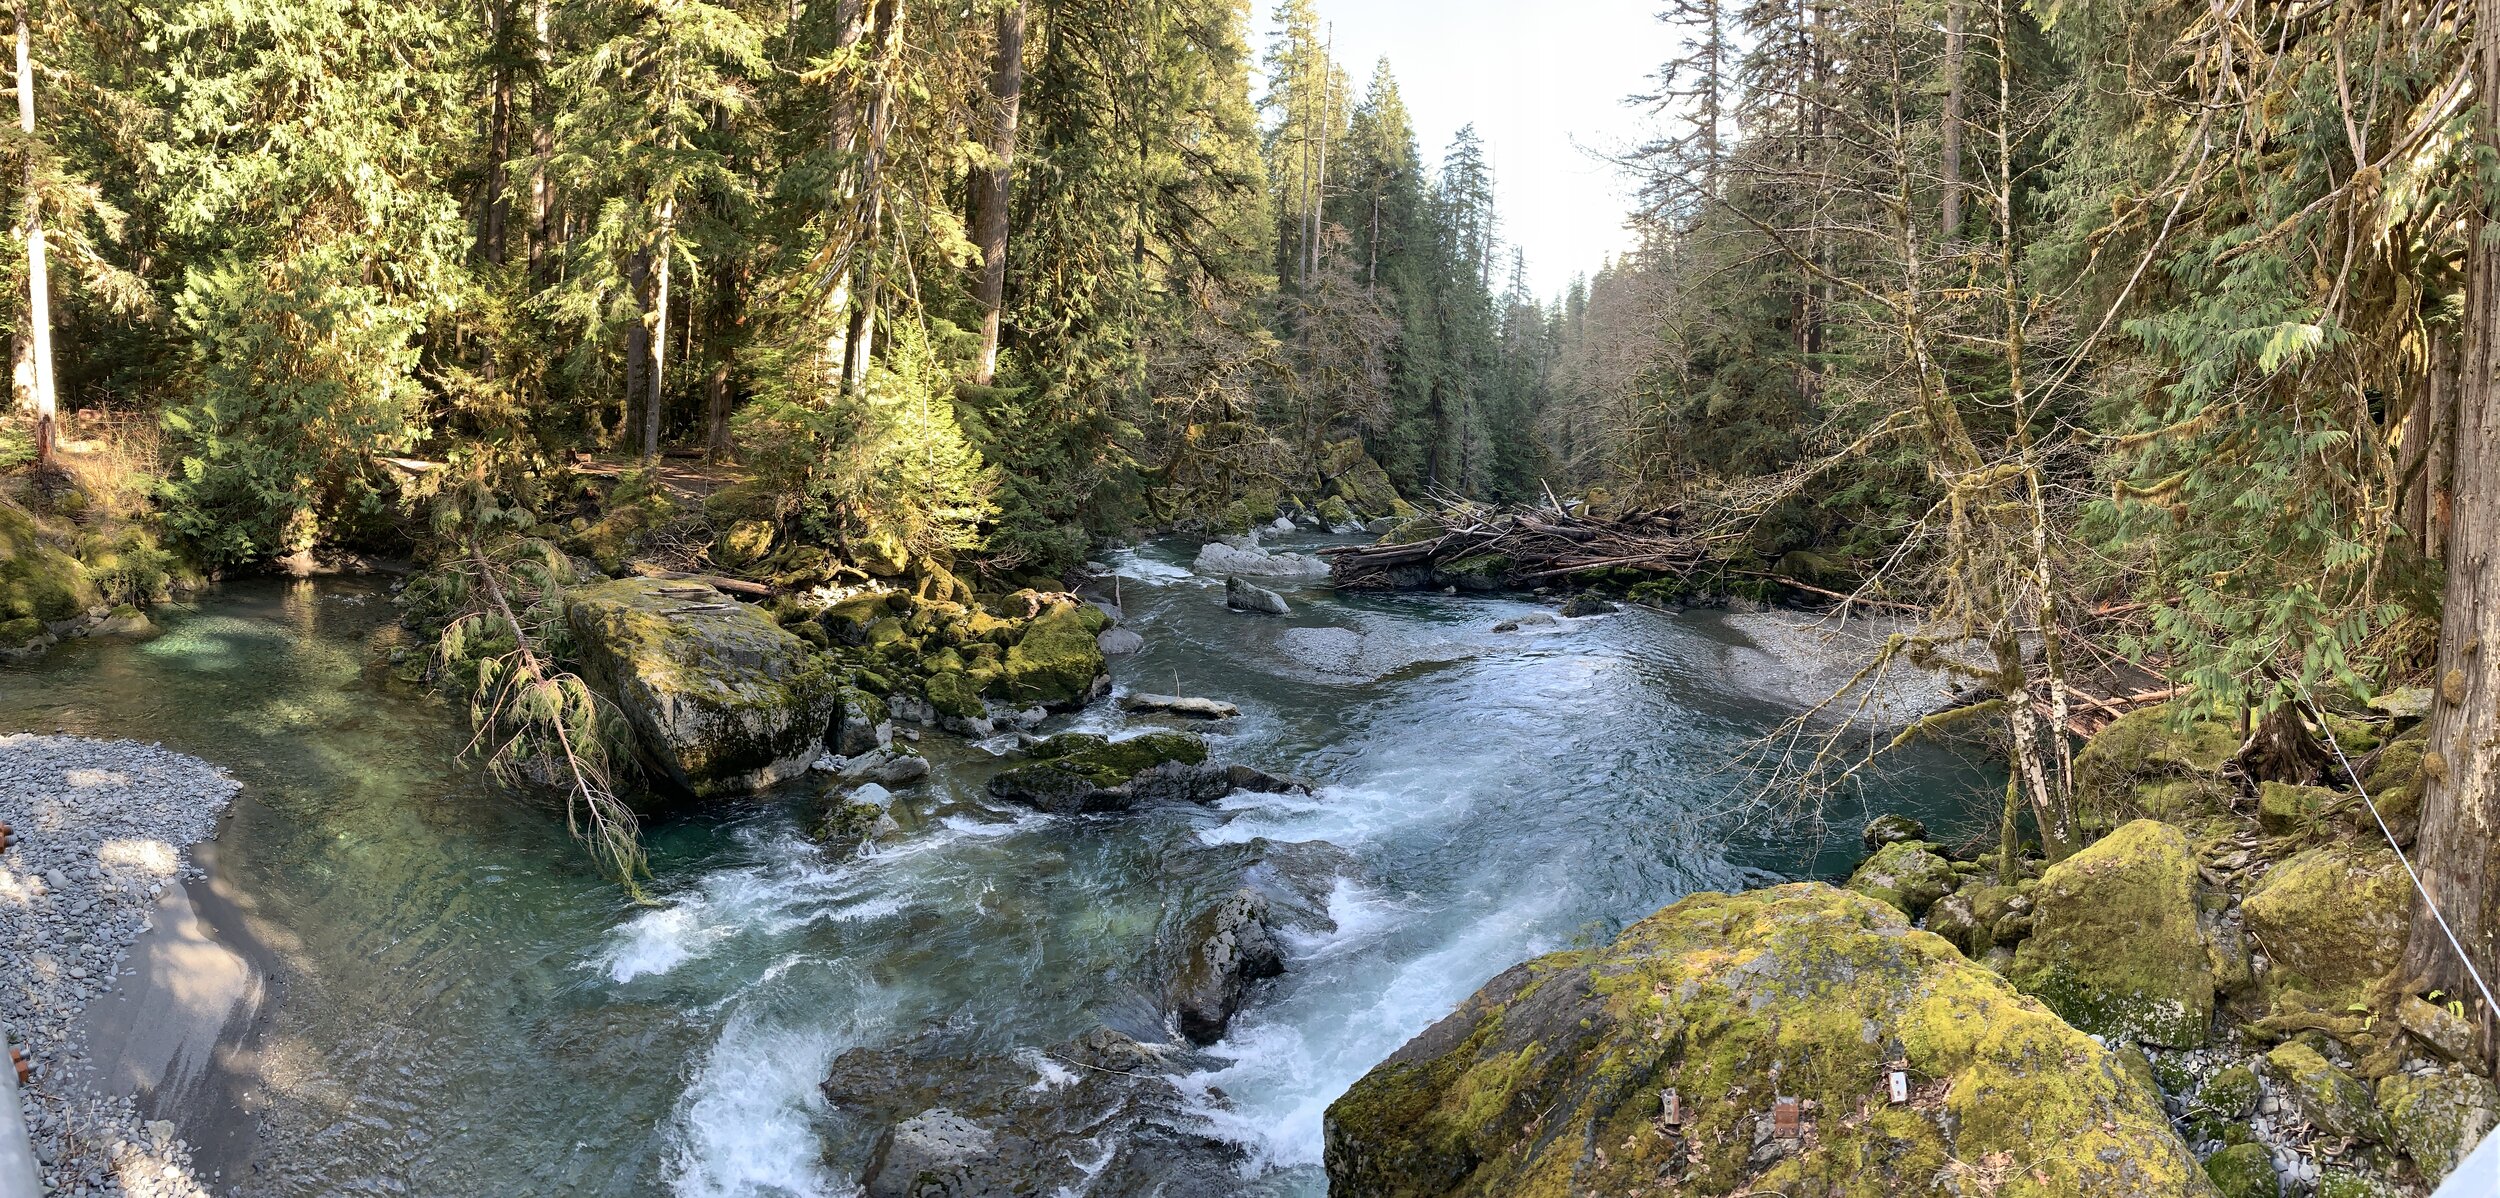
Porter Falls itself was ok. Prior to doing the hike, I did some minor research to see what the area looked like. Some people posted pictures showing the falls as large and grand. Others show something tiny. To me, it isn't one of those giant waterfalls but more of a small drop. It’s probably only 10-15 feet tall. Still, it was a pretty nice place to be. The fallen trees really added to the scenery for me. 
IMG_6903.jpeg

Overall, I think the hike makes a worthwhile day trip if you're looking for something short and don't require much effort.

There's one other thing that I wanted to note. Walking on the trail I kept hearing engines rev as if people were racing down the roads. Getting back to the parking lot, there was a group of people with their quads. They were speeding around the parked cars. The parking space is essentially dirt and gravel so you can imagine all that being picked up and thrown at the parked cars as they raced by. Extremely inconsiderate. I doubt this is the norm but it obviously does happen. 

For me, aside from the inconsiderate people at the parking lot, it was an overall enjoyable experience. I don't know if I would do the hike again, but I think it's worth a one time try. 

B9806DE5-D081-4AA0-93A7-464BD1E3D168-1.jpeg


Want to support my work?

Consider visiting the shop and buying "Absolutely Nothing"
https://www.HaiHoangTran.com/shop/absolutely-nothing

or

Become a Patron!
https://www.patreon.com/HaiHoangTran

or

PayPal
https://www.PayPal.me/HaiHoangTran

or

Just shop on Amazon via this link!
https://amzn.to/2FgsDnG