Kentmere 400


This blog post is meant to act as a supplement to the video linked above where I examined Kentmere 400. The main purpose of this post is to include more easily viewable sample images from the video. For my thoughts on the film stock itself, watch the video for an analysis.


Film Stock Used

Kentmere 400 https://amzn.to/2ThTxAV

Camera Setup Used

Nikon N2020 https://amzn.to/2PC53oX

Nikon 50mm f/1.8D https://amzn.to/2CMEPxk

Chemicals Used to Develop

Ilford DD-X Developer https://amzn.to/2PxtUdG

Ilford Ilfostop https://amzn.to/2yFBhIO

Ilford Rapid Fixer https://amzn.to/2CP7QIw


Want to support my work?
Consider visiting the shop and buying "Absolutely Nothing"
https://www.HaiHoangTran.com/shop/absolutely-nothing

or

Become a Patron!
https://www.patreon.com/HaiHoangTran

The Best Travel Tripod | Sirui A1205 / A-1205


I’ve tried a few different tripods over the years and there are very few that I’m actually happy enough with to keep. When it comes to tripods, I want to know that it’s going to fit into my workflow. I also have to have complete confidence in a tripod because if I can’t trust it to hold my gear that cost thousands of dollars, then what good is it? This is why I really do not do tripod reviews. If it’s not worth keeping, then it’s usually not worth reviewing.

I’ve been using the same tripod for many years. I’ve found a setup that fits the bill and this setup consists of the Manfrotto MT190CXPRO4 legs and the Manfrotto MH055 ball head (discontinued, check out the MH057M0-Q5). This is my photography setup. I’ve had this since the beginning of my career and I really do not see it stopping anytime soon. For doing photography, this is the perfect setup for me. 

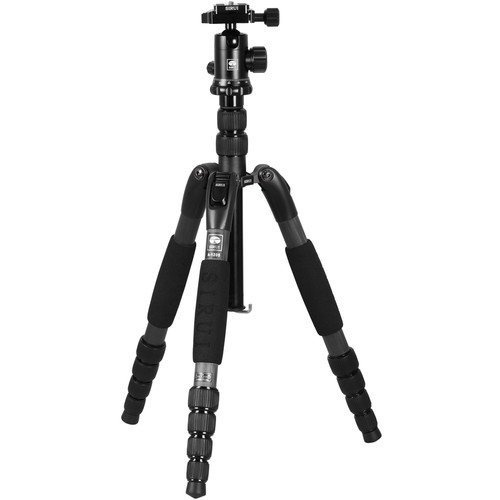
But recently, I’ve been doing a lot of videos where I need to record myself doing photography with this tripod setup, so I need a tripod for a second camera. A second camera that’s typically smaller and requires a more portable setup than what my photography tripod setup can give me. In short, I needed a travel tripod. I’ve been on the hunt for this second tripod for awhile but I think the hunt is finally over with the Sirui A1205.

When I was looking for a new travel tripod, I was looking for one that folds up small, is lightweight and holds a decent payload. You may think that these requirements are fairly simple but I actually found it difficult to find a tripod that had all of these things. It’s easy to find a really small tripod, but it’ll probably not hold enough weight for it to be functional/useful. Then you have other tripods that are marketed as travel tripods and can hold a decent payload but when considering it’s dimensions, it’s not really a small tripod at all. In contrast, the Sirui A1205 provides the best of all worlds. 

In terms of specs, this tripod seems too good to be true. Thanks to its 5 section inverted leg design, the Sirui A1205 can fold down to 14.6” but can expand to a maximum working height of 55.1”. Its carbon fiber construction allows it to have a maximum load capacity of 22 lbs while only weighing 2.2 lbs. Getting all of this in a package that only weighs 2.2 lbs is insane! My Manfrotto MH055 ball head alone weighs 2.2 lbs!

Another notable thing about this tripod is that you can actually remove one of the legs and when combined with the center column, you actually get a functioning monopod.

Now this setup comes as a combo meaning that the  head and legs are sold together, in combination. From my experience, the problem with most combos is that they are never really perfect. The legs may be nice, but the head may not be or vice versa. With something like my Manfrotto setup, you buy the legs and head separately and are able to build something that works for you. With a combo, you kind of get what you get. You may be thinking that you can just get the combo and part it out later. Maybe change the legs or the head with something better, but this is a bit difficult with something like a travel tripod because of the way that it folds up. These tripods are generally designed in a certain way for everything to fold down to a compact package. If you were to throw another head on the legs, they may not be able to fold up correctly and end up taking up more space, so what’s the point? So with a compact travel tripod, you really just have to live with whatever drawbacks it has.

With that, let’s get into some of the drawbacks that I feel this tripod has. 

First, this is completely personal, but for me the biggest drawback of this tripod is the twist lock legs. I personally prefer flip locks because with flip locks, you have a confirmation of the locks being locked. You can look at the locks and know right away if it’s locked or unlocked. There’s no in-between unless there’s something wrong with your tripod. With twist lock, there is an in-between and even after years of using them, I still find myself occasionally not locking them down fully and they move during travel or even worst, in use and I see my tripod start to lean/fall and that’s just the scariest thing. That being said, I have not had a problem with this tripod and its twist locks yet. Spend the time to make sure that everything is locked properly and it’ll hold your gear just fine.

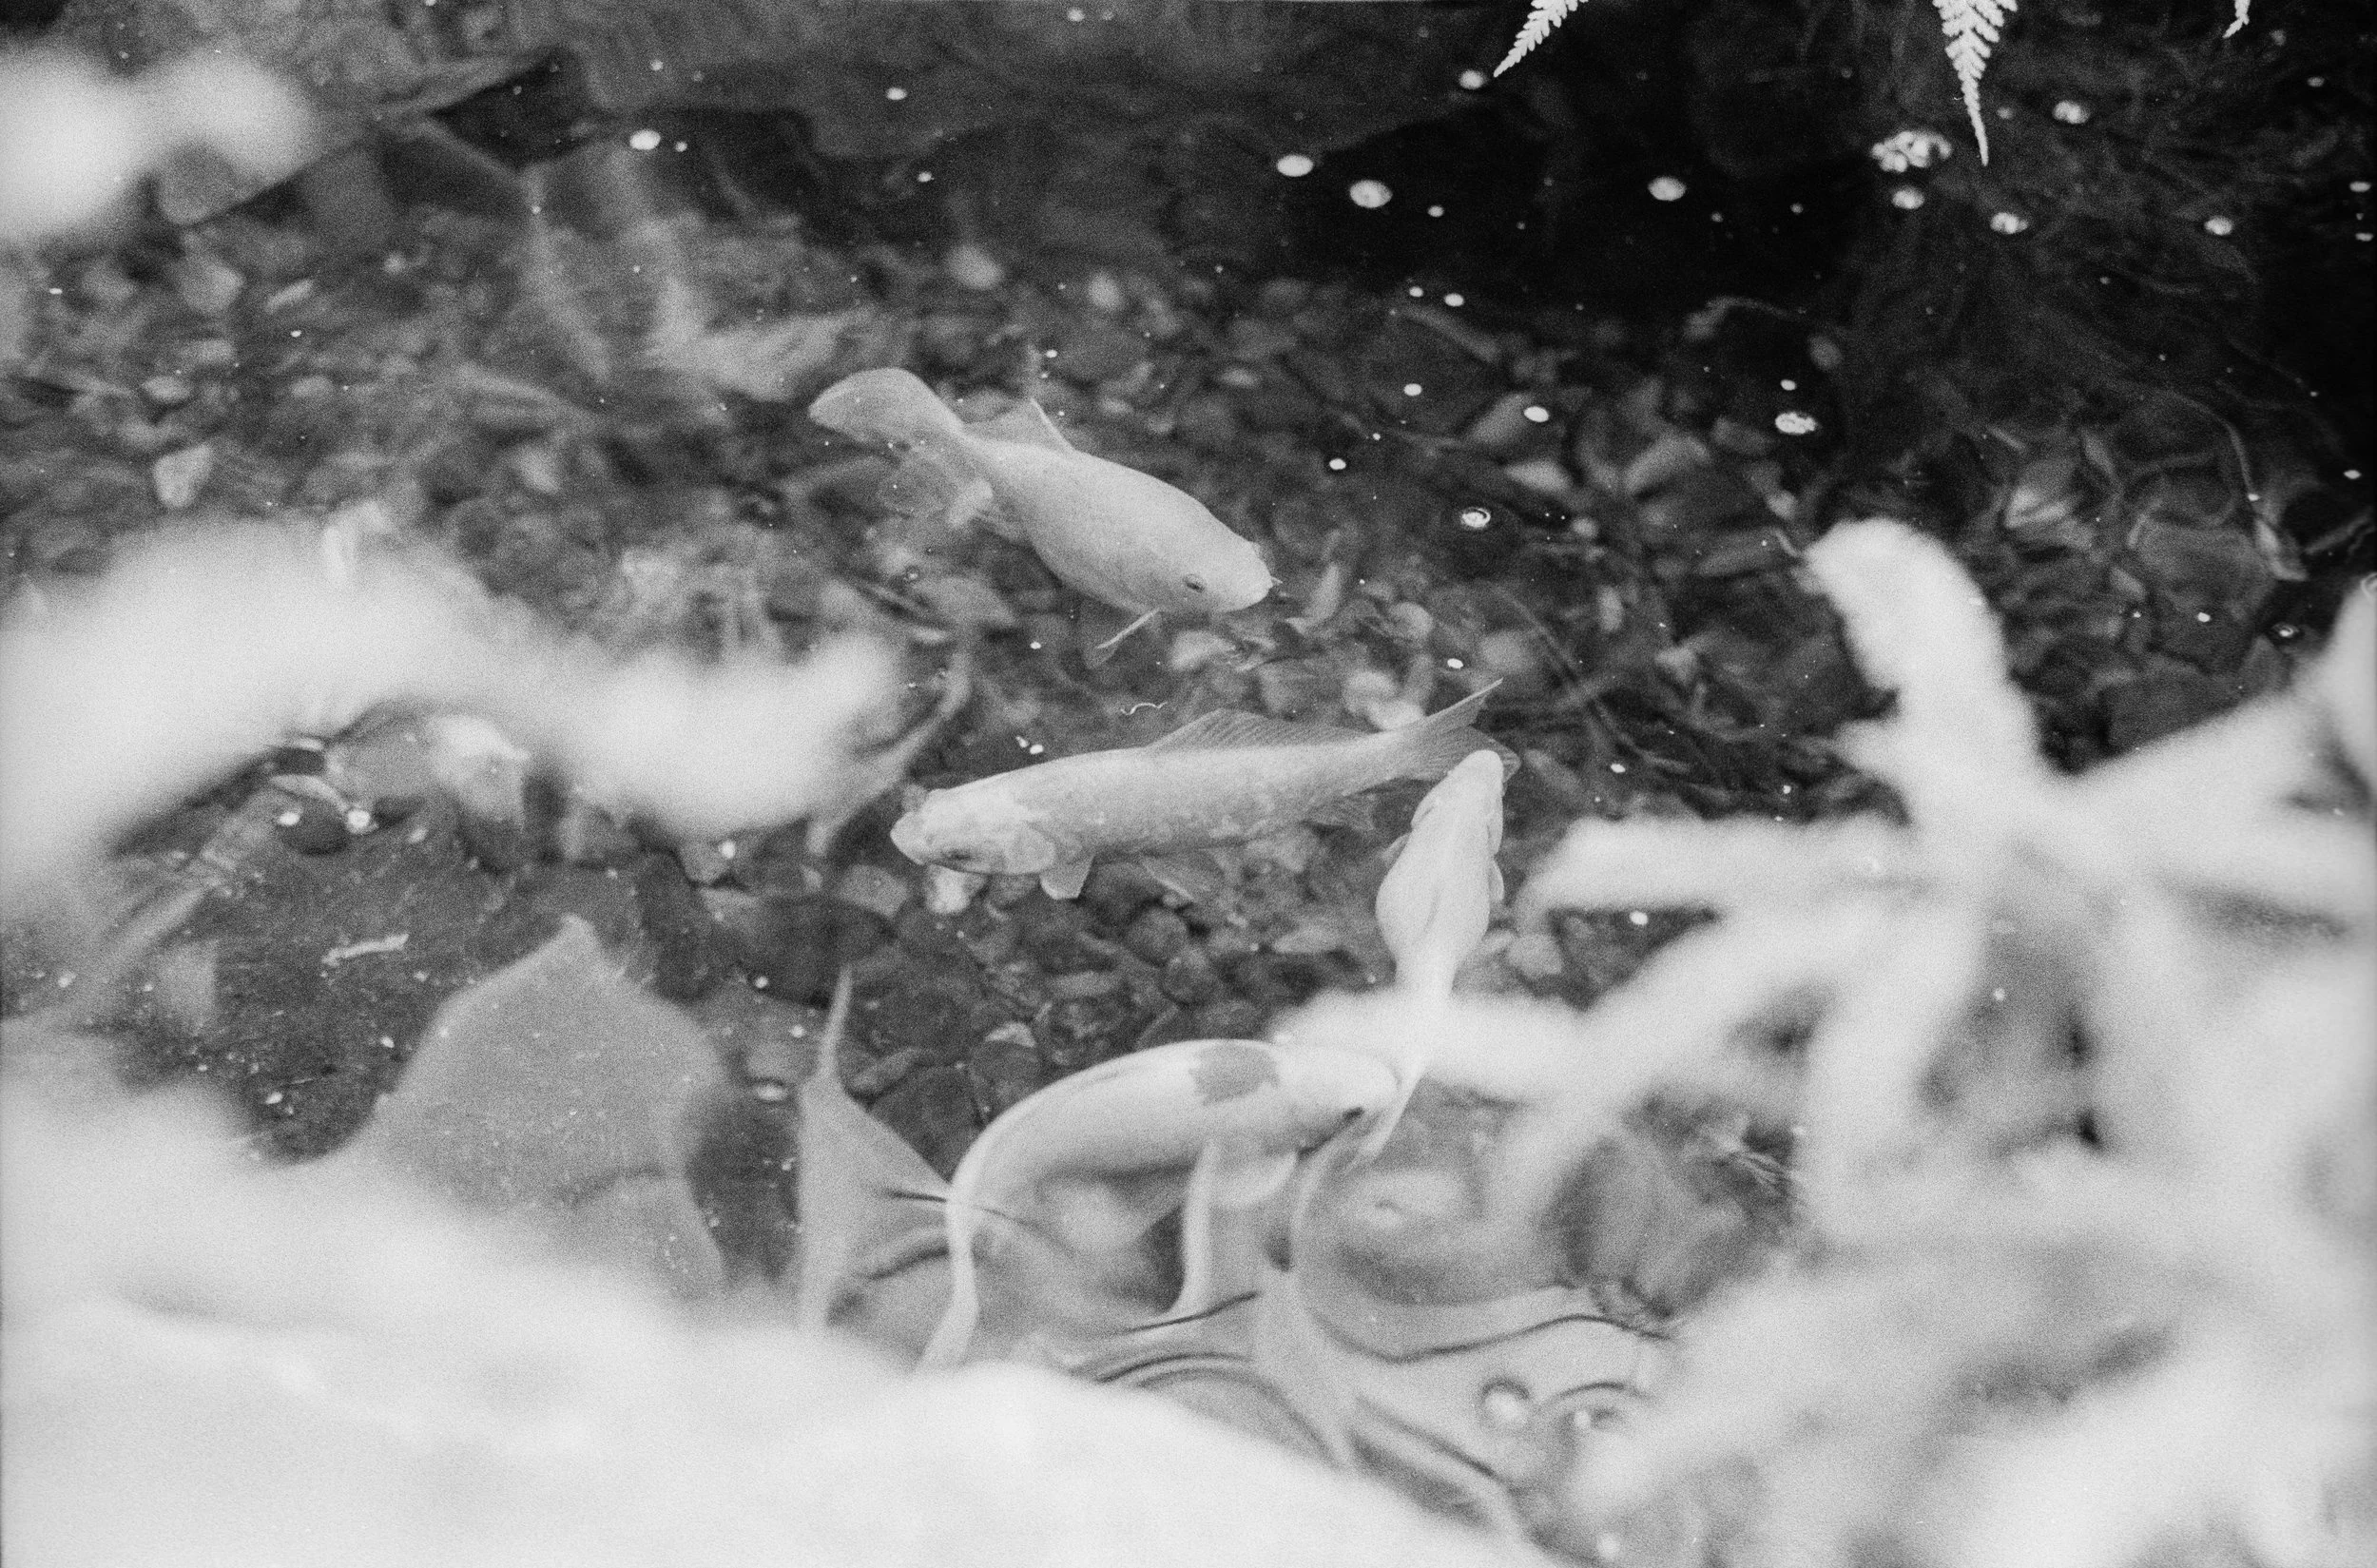
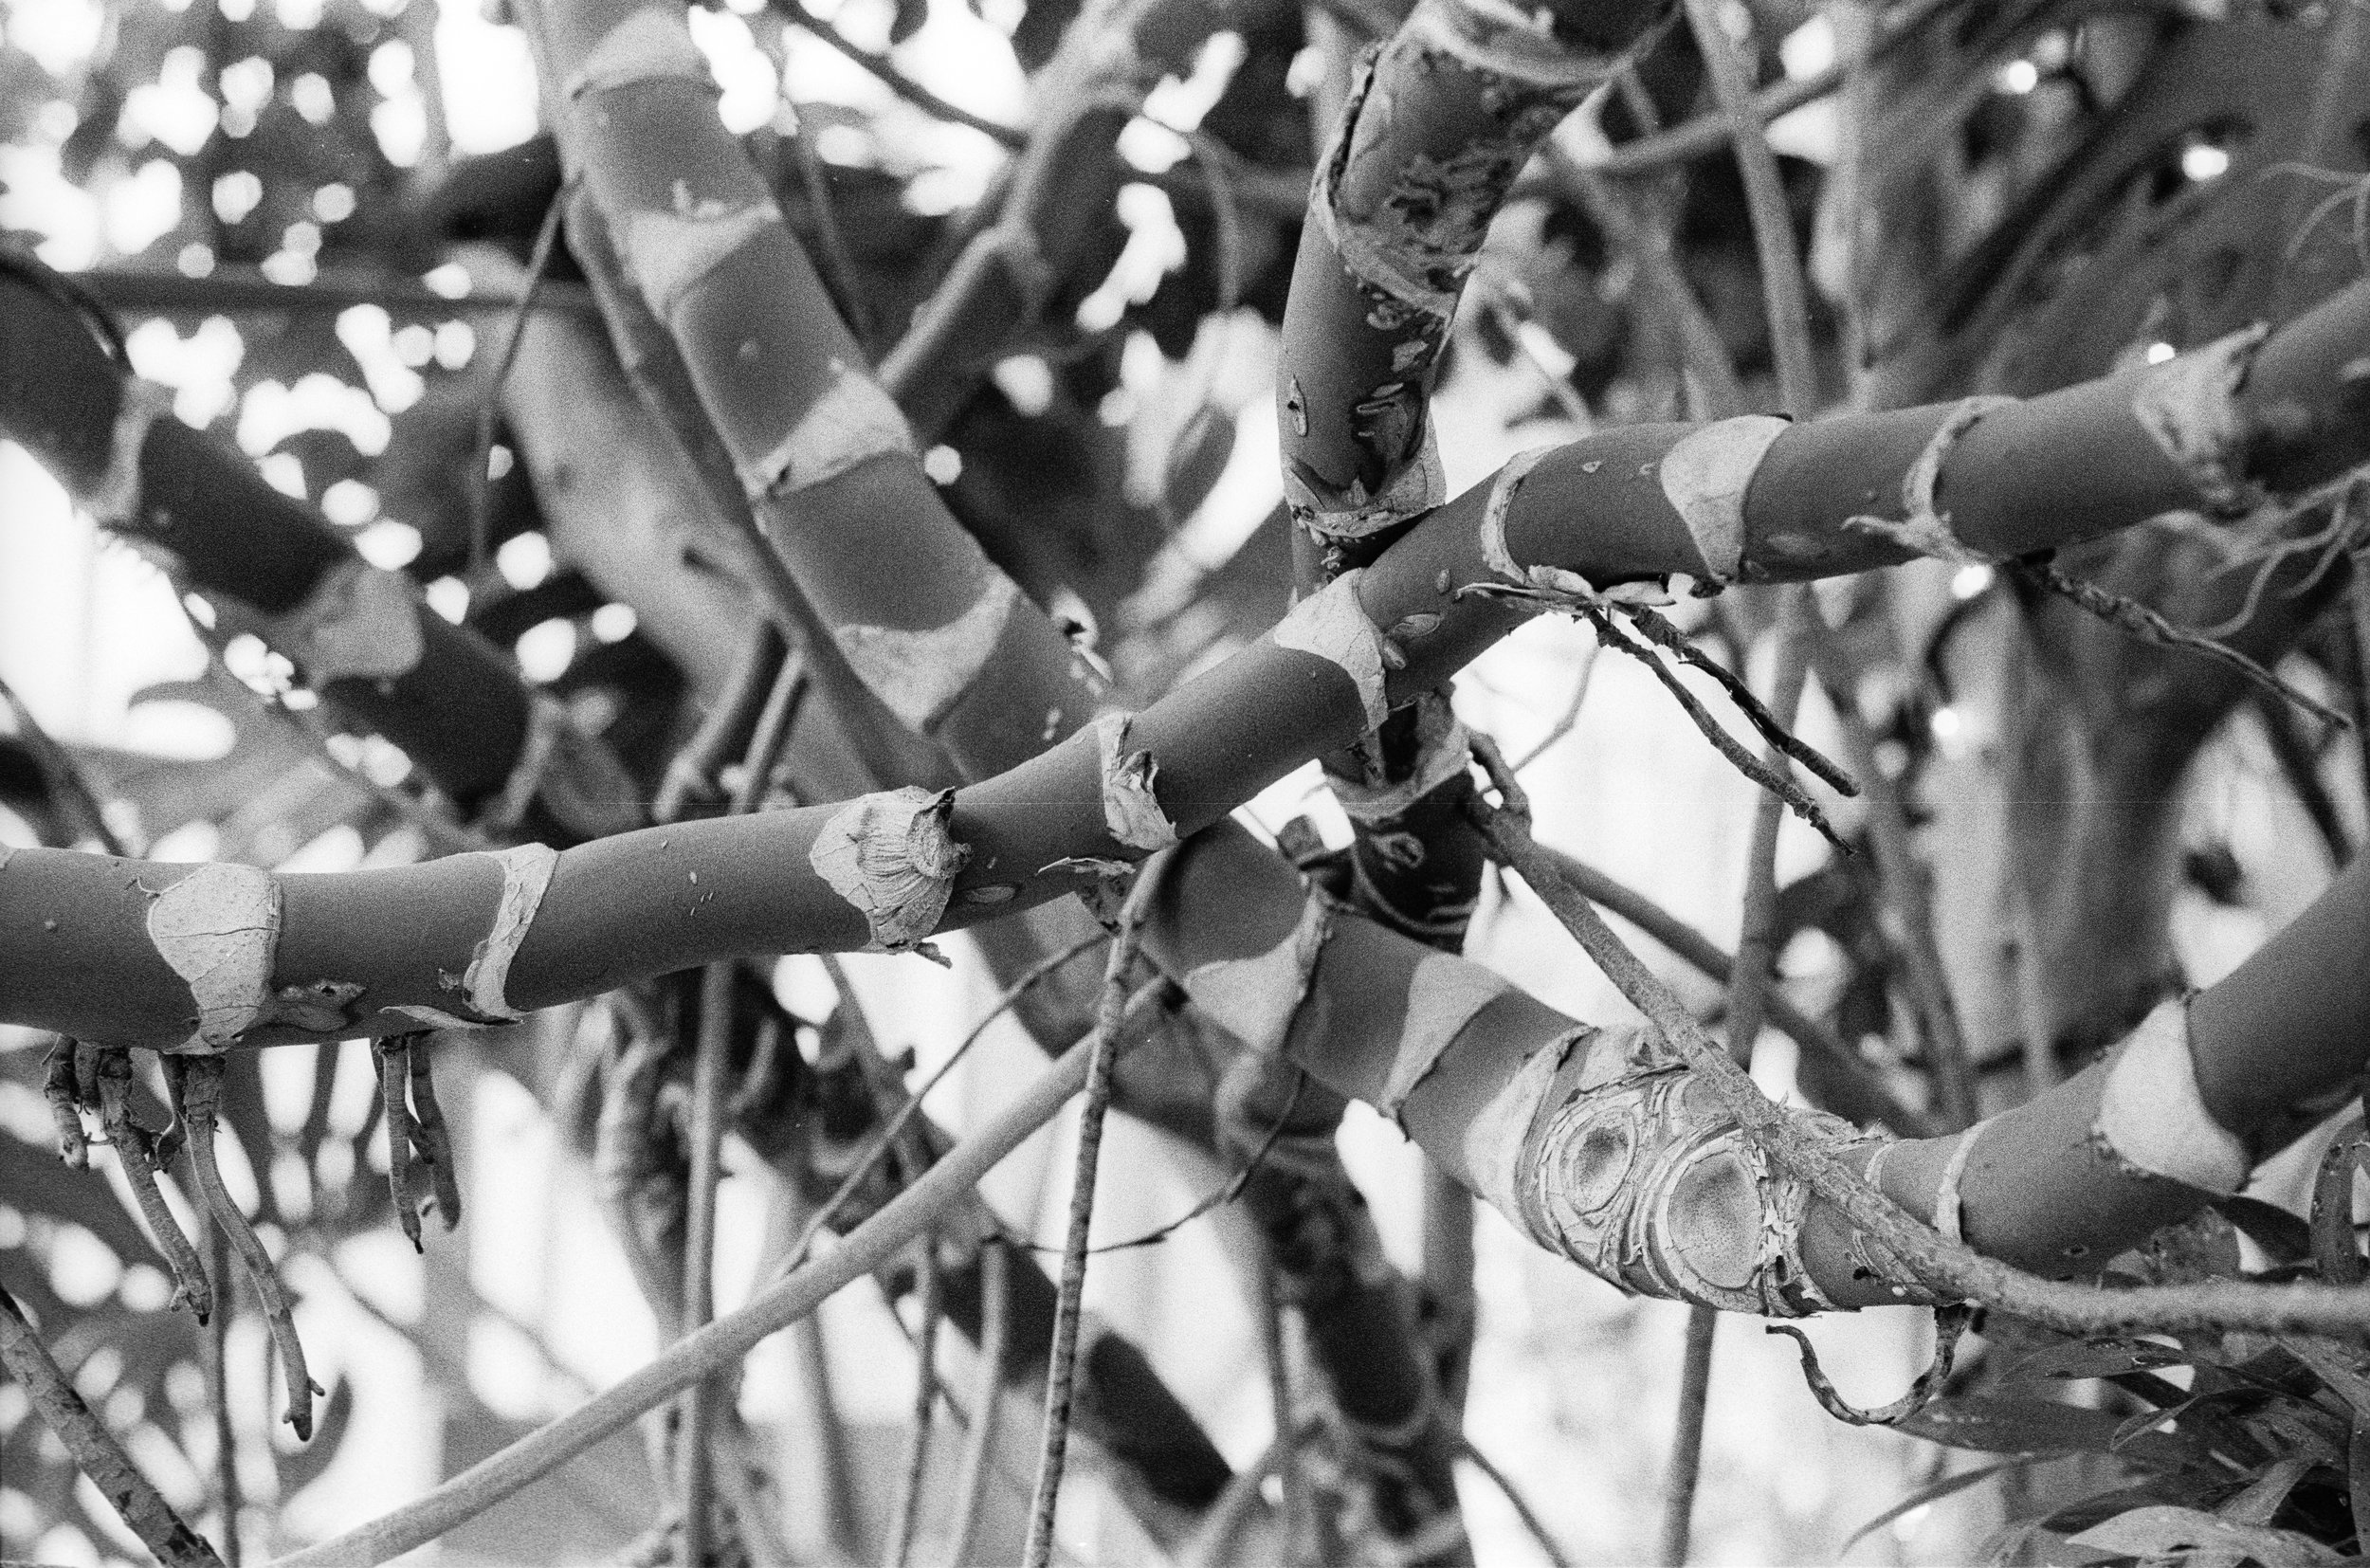
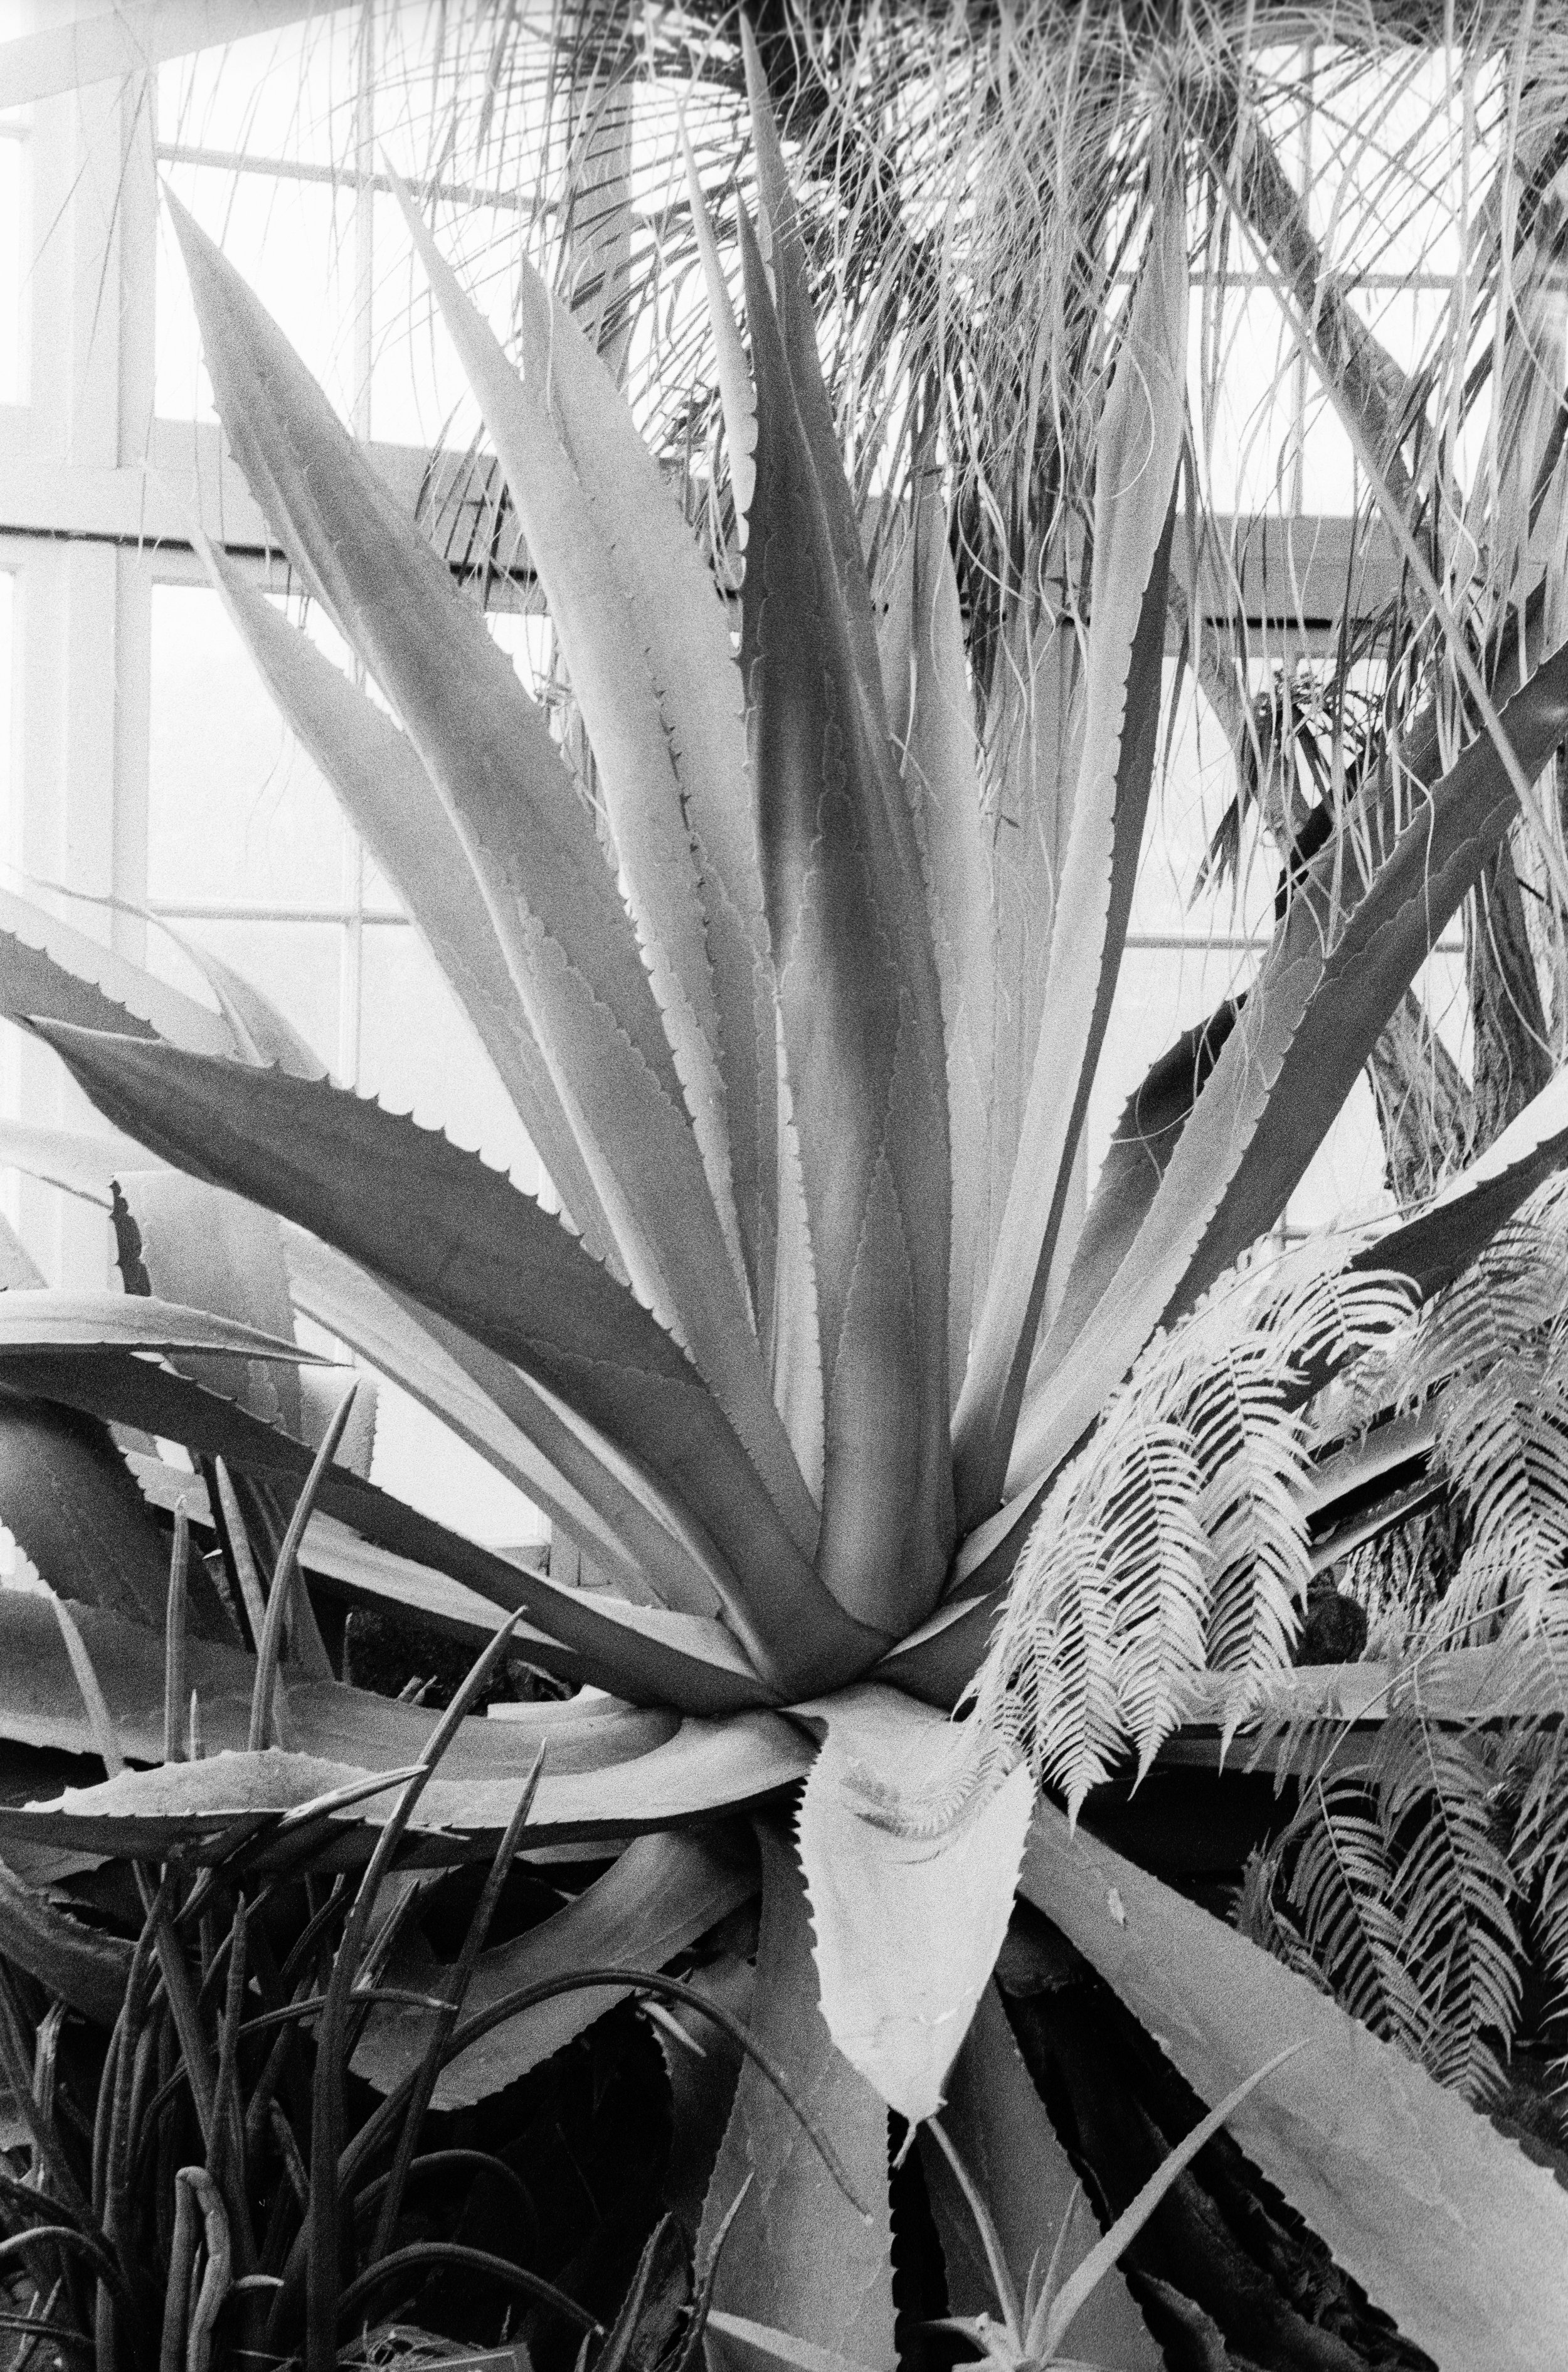
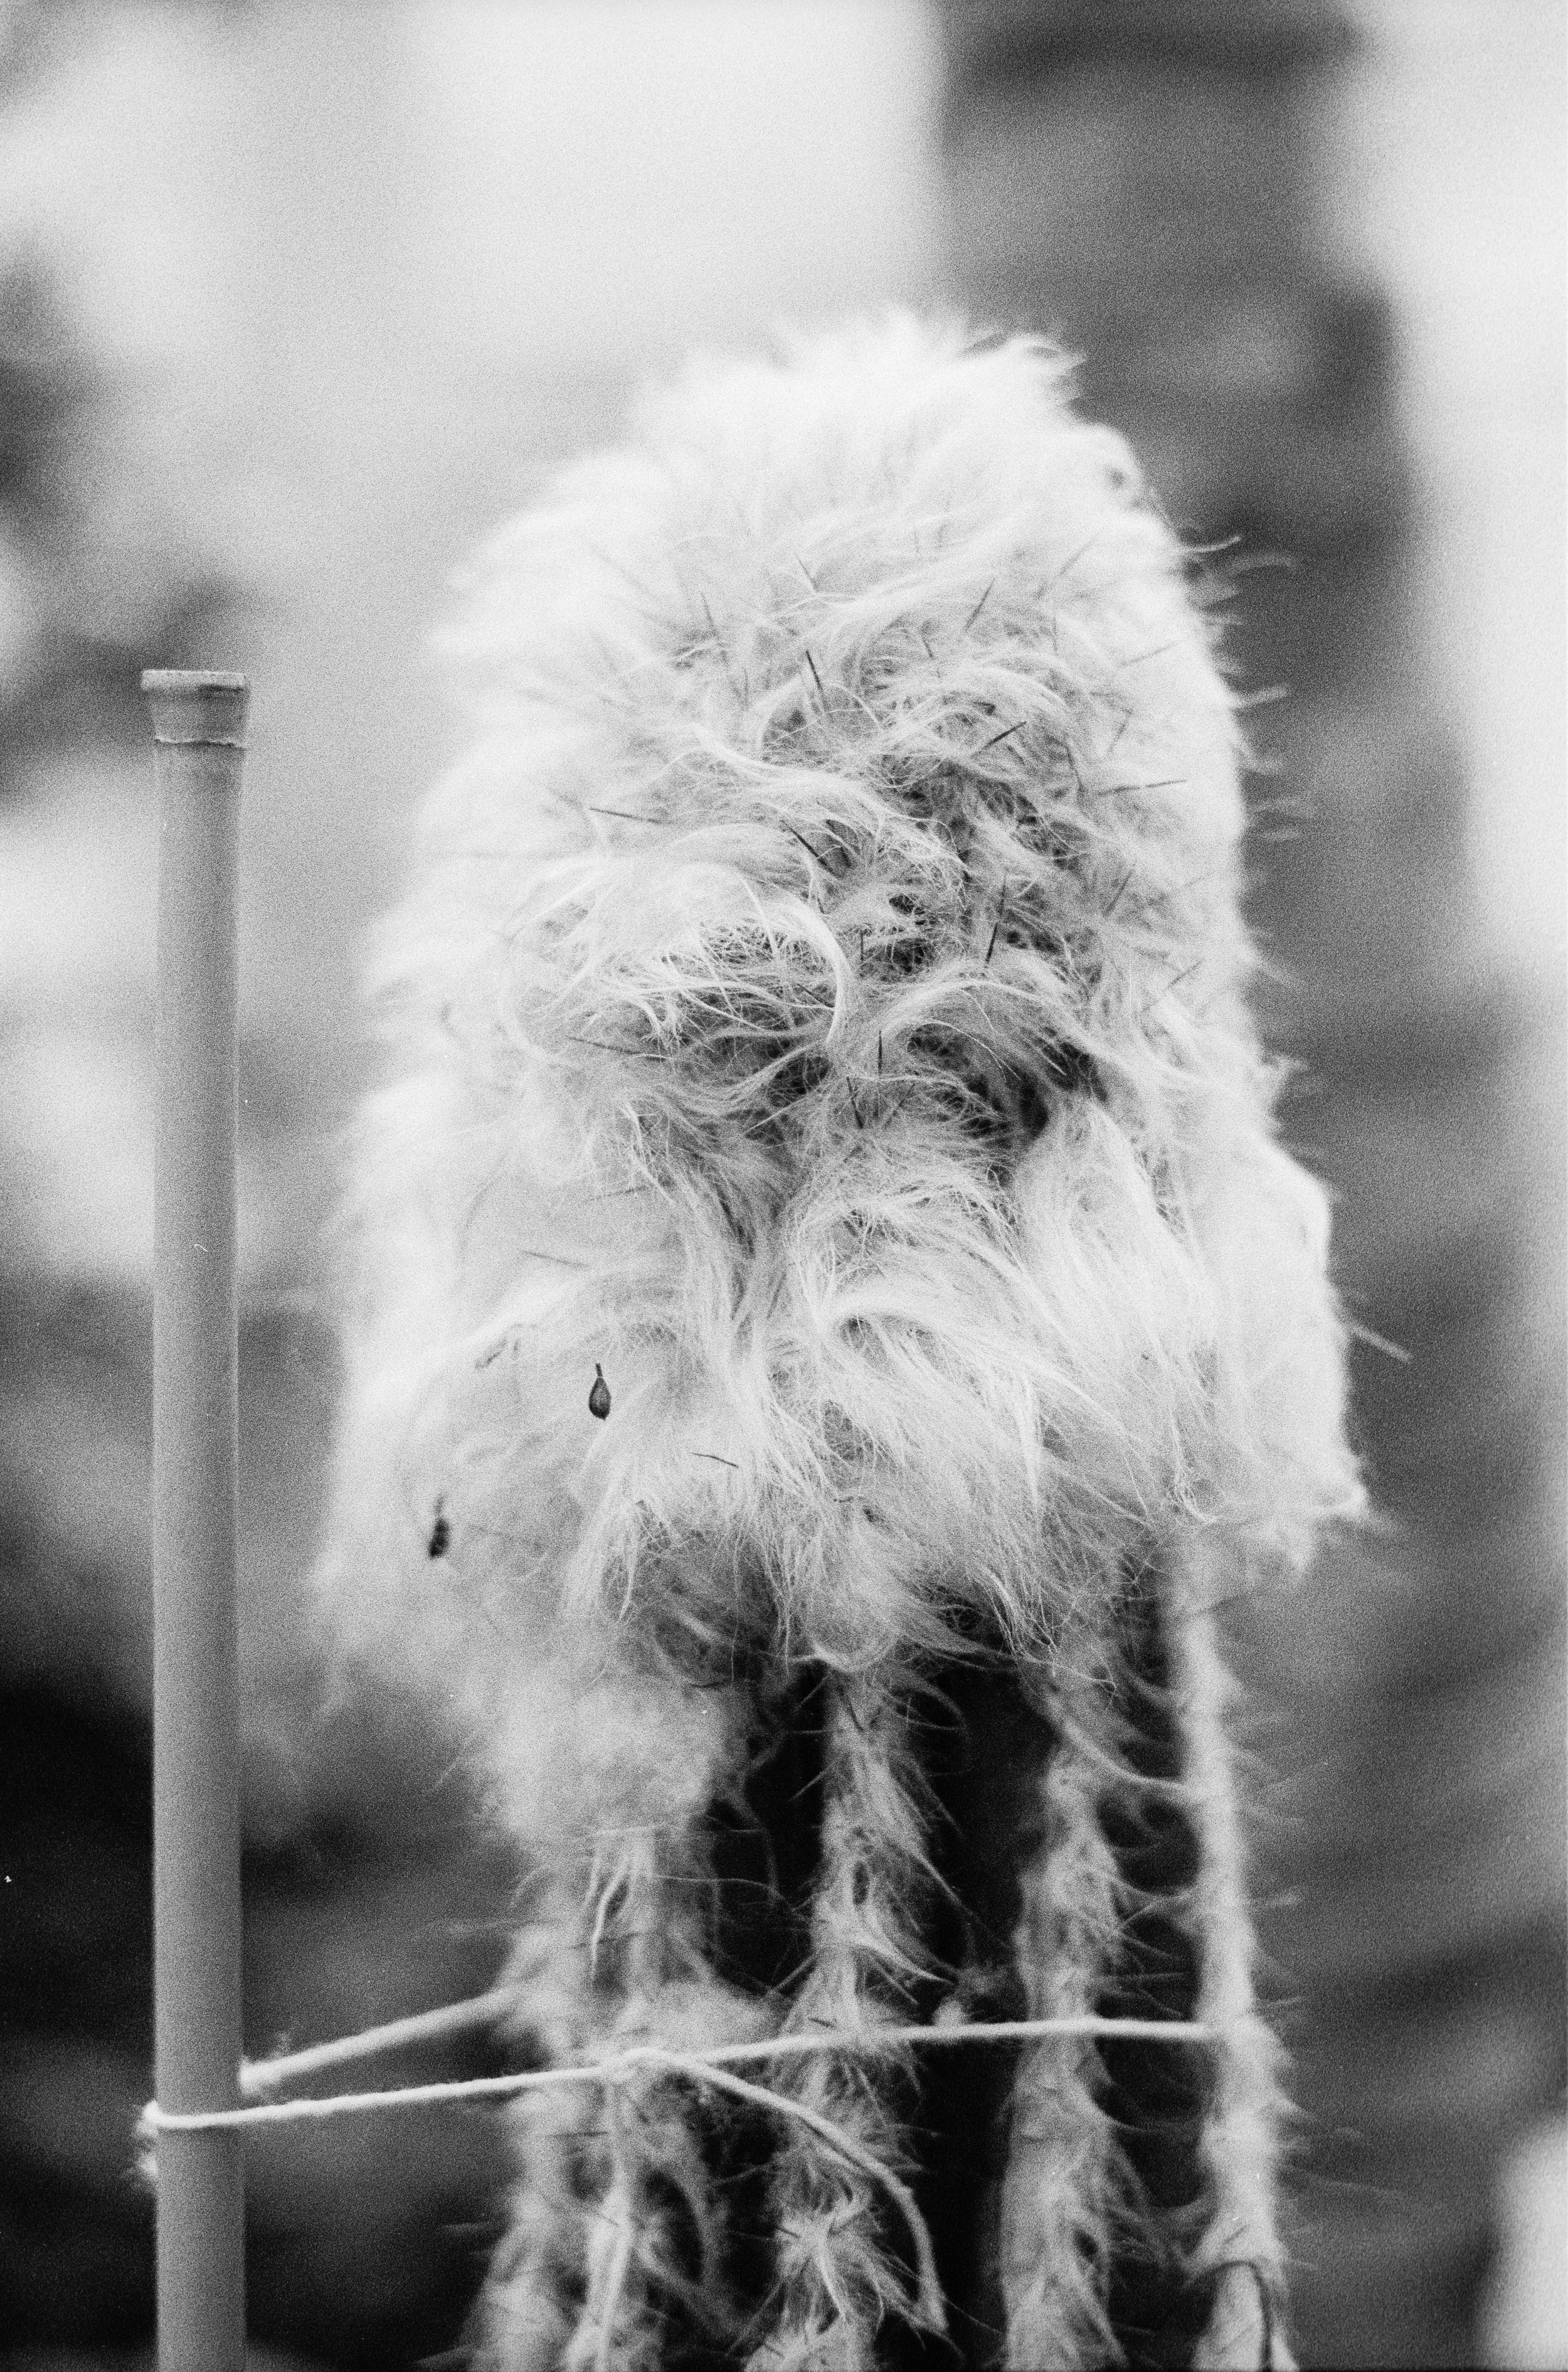
The second and only other drawback that I can think of with this tripod is the maximum payload. Although Sirui advertises it as 22 lbs, there’s no way that this tripod can hold 22 lbs. The legs may be able to but not the head. I’ve used this tripod with about 10 lbs of gear and there is definitely some movement in the head. I often take multiple exposures of a scene, wether it’s for bracketing or focus stacking and in between my images, I can see that the composition is not the same in the pictures. I kind of knew that this would be a problem with this tripod even before buying it because tripod manufacturers really like to over estimate their max payloads. When a manufacturer says something like a 22 lbs max payload, you should really be expecting about half of that unless you’re really spending money on your tripod setup. Even though this is a well built tripod, at the end of the day it retails for about $240. You’re not making the biggest investment in the grand scheme of things. This is a rather cheap tripod in comparison to some of the other travel tripods that have similar specs. With that in mind, it’s really hard to fault this tripod considering everything else that you’re getting, an extremely small when folded tripod that is also lightweight and hold a decent amount of weight. I’m really, really enjoying this tripod and if you are looking for something similar, I’d highly recommend you check this Sirui A1205 out for yourself.


Want to support my work?
Consider visiting the shop and buying "Absolutely Nothing"
https://www.TheUpperLeftUSA.com/shop/absolutely-nothing

or

Become a Patron!
https://www.patreon.com/HaiHoangTran

Best Acessory for Filter Users | Manfrotto Xume Quick Release Adapters


Lens filters are pretty straight forward. The majority of them get screwed onto the front filter thread of a lens. This approach to mounting a filter works, but is not the most efficient. To me, this is one of those things that has been so widely implemented that no manufacturer dares to diverge from the norm, even if there is a better solution. That better solution may just be the Manfrotto Xume Quick Release Adapters.

The Xume adapters consist of two different pieces, the lens adapter (attaches to your lens’ front filter thread) and the filter holder (attaches to the back of the filter). These two parts create a magnetic connection between each other and when installed to your lens and filter, it allows you to magnetically install your filters with little effort. The magnetic connection has just the right amount of strength to hold a filter in place without it falling off and still allows you to easily take the filter off when need be.

But just how strong is the connection? What if you don’t use just one filter, but an entire filter system? In the video above, I showed the use of the Xume adapters with my Wine Country Camera filter holder. This is a high quality filter holder and with that quality comes weight as the holder is made entirely from metal and wood. The Xume adapters can efficiently hold my filter system, a circular polarizer and 3 additional solid ND filters. I can still also rotate the adapters and my filter holder around for times when I’m using an ND grad and of course take it on and off with ease. Needless to say, these adapters can hold anything that I would possibly need.

Although the Xume adapters are great, I do have one complaint. The Xume system simply does not allow you to use conventional lens caps. The Xume lens adapter is very thin and there is just not enough space for a lens cap to catch on and stay in place. There are specific Xume lens caps that you can buy that works with the lens adapter but from my research, it seems like these caps are only available in certain sizes. For example, my most used lens has a 82mm front filter thread so I bought the 82mm Xume adapter rings. When I tried to find and buy the 82mm Xume lens cap, it was like it’s nonexistent. I couldn’t find it anywhere, even from the manufacturer. 

To solve this problem, what I’ve done is bought a screw on lens caps (which would typically screw on to the front filter thread of a lens) and combined this with another Xume filter holder ring. This essentially turns the screw on lens can into a magnetic lens cap. Now, this work around functions just fine but it does cost some money. You have to buy the screw on lens cap and another lens adapter ring and that may cost more than the Xume branded lens cap if they were to make it.

But overall, the Xume is something that I do enjoy and would definitely recommend if you use filters a lot. It’ll save you a lot of time.


Manfrotto Xume https://amzn.to/2RCqgTT

Manfrotto Xume Lens Cap https://amzn.to/2C7M28f

Screw on Lens Cap https://amzn.to/2SLoDAS

Wine Country Camera Filter System https://amzn.to/2ReZe5M


Want to support my work?
Consider visiting the shop and buying "Absolutely Nothing"
https://www.TheUpperLeftUSA.com/shop/absolutely-nothing

or

Become a Patron!
https://www.patreon.com/HaiHoangTran

Wallace Falls State Park Trail, WA


I recently had to opportunity to hike the Wallace Falls trail for the first time and I have to say that I enjoyed it quite a bit. This is one of those trails that offers a lot in a short amount of distance because it just seemed like there were views around every couple of corners.

IMG_8317.jpeg

For those who are interested in doing the hike, going early is a definite recommendation. I arrived at the trailhead at 8 am and there were about 20 cars in the parking lot. As I hiked, I saw many people on the trail and by the time that I was finished, a good portion of the parking lot was filled. I did this hike on New Year's Eve, which is something that not as many people are going to do. I can only imagine that on a nice summer day, parking is going to be taken up fast. There is no roadside parking on the way to the trailhead so you'll have to find parking elsewhere in the surrounding residential area. Parking in the lot also costs $10 a day or $30 a year for the Discover Pass, which will allow you to park at various other state parks. Those who do not pay for parking may be fined at this location as there is a volunteer actively on site.

For those who are also new to this trail, there are multiple sites and waterfalls that you can hike to. On this day, I only hiked to lower falls so take that into consideration as you read this blog. That being said, the hike to lower falls is relatively easy. A more experienced hiker or someone with good cardiovascular endurance should have little problem. I would like to note that there was a little girl less than 5 years old that I saw throughout the trail walking on her own. That kind of tells you about the difficulty of this hike. To me, it seemed like there was not a lot of elevation gain. More so smaller patches of incline climbs rather than a constant climb. 

You start off at the trailhead and walk down a gravel road that’s directly under those electrical towers that you often see randomly running through the mountains. This was actually my first time being this close to those towers and to my surprise, you can actually hear the electricity running through them, which is kind of crazy! After this, you enter the rain forrest and stay there for the remainder of the hike.

IMG_8269.jpeg

One nice thing about this hike is that you walk along a moving body of water for a good portion of the hike or relatively close. You can hear moving water for the entirety of the hike and that just adds to the mood of the trip.

Conditions on this particular day were great. It had been raining consistently for the past couple of weeks and this was an unusually good weather day. I was layered up pretty well and stayed warm throughout the hike but my hiking partner did complain about being cold and losing sensation when not in motion. Keep that in mind as you plan your trip! Another thing that would be helpful is to bring a waterproof layer because there were a lot of water droplets falling from the trees even on a nice sunny day. If you're going on a wet day, bring waterproof gear for sure.

IMG_8290.jpeg

I can’t gaurantee that this is the norm for this trail but I experienced some amazing light throughout this hike. As the sun rose, it lit the tree canopy on fire and often put on a display of light beams through the trees. This got me pretty excited and I tried my best to capture an image as it was happening.

IMG_8285.jpeg

Overall, this is definitely a recommended hike. There is a lot of reward for the amount of effort put in, even if you don't do the entire hike. 


Want to support my work?
Consider visiting the shop and buying "Absolutely Nothing"
https://www.TheUpperLeftUSA.com/shop/absolutely-nothing

or

Become a Patron!
https://www.patreon.com/HaiHoangTran

Ilford HP5 Pus vs Kodak Tri-X 400


This blog post is meant to act as a supplement to the video linked above where I compared Ilford HP5 Plus and Kodak Tri-X 400. The main purpose of this post is to include images so that you’re able to better see the differences that I mentioned in the video. All images are as scanned and unedited. The first image shows a side by side comparison of the images that you can click on to see it enlarged. The second is a slideshow of the images. The first image will always be of HP5 and the second of Tri-X. Below each image will be the statement that I made in the video in case you’d like to have a reminder of what I said.

For this first image, let’s start with the grain. On my end the grain pattern between these two films are noticeably different. With Tri-X, the grain seems to be closer together, giving it the perception that it is finer. With HP5, I can see a lot more space in between the various textures of the grain. This makes it more noticeable and prevalent in my opinion.

In terms of sharpness, I’ll cover this later with pictures that I think show the differences better.

Contrast. I think between these two images, although the differences are minor, it is noticeable. Tri-X is a more contrasty film. Pretty anywhere that’s in shadow, in this image, the blacks are going to be darker. Looking that the face of the artist with HP5, it almost looks like there’s one shade of grey. While on Tri-x, there are clearly defined shades and tones. You can argue that this is because the artist moved and the face is lit differently but I don’t think anywhere near what these images show. Remember, he’s wearing a hat and realistically, under that bill there should be noticeable shadows. In this situation, I think Tri-X is more true to life.

The same things can be said about this image. Pay attention to the fresh black ink on the client’s arm and the chair that he’s sitting on. The grain is much more noticeable in HP5 while Tri-X is much smoother. Tri-X is again also more contrasty. The dark parts of the chair are black. There’s no detail there with Tri-X while the chair is more of a grey with HP5.

In this third example, look at the shadows around the eyes of the artist. HP5 has lighter shades of grey that largely blend in with each other. Tri-X on the other hand, very apparent differences in tones.

This first image is of a tractor. I think everything that I previously mentioned about grain and and contrast are true here. Grain is less noticeable with Tri-X and it is also contrastier. I wanted to show this image because I’ve noticed that on a general, HP5 seems to produce an overall brighter image than Tri-X and this could be for various reasons. Hp5 could simple be a higher speed film than box rating. The extra brightness could also be because of the lack of contrast. Because the image doesn’t have as many dark tones, I could just be perceiving the HP5 image to be brighter. There are a lot of reasoning to this but in general, I personally perceive Hp5 to produce a brighter image. 

Here’s an image taken at f/1.8. I think if you’re examining grain, a good way to do so is by looking at the bokeh or the out of focus areas of an image. The grain really stands out in both of these images to me. I would still say that Tri-X provides a smoother grain. I would describe HP5’s grain as being clumpier. It’s just spaced out in a way that’s makes it looks like there’s more grain in a particular area. It’s difficult to describe but overall, I believe that Tri-X provides finer, smoother grain.

These last few images were taken on a third day at my local waterfront. This first one is a straight forward side profile of a bike. Looking at this image, I notice this difference in contrast right away. Again, Tri-X is much more contrasty. I chose this image because the contrast of Tri-X really makes the bike pop out from the background. There is a clear separation between the bike and the background and that’s because of the dark tones with Tri-X. The HP5 image again, provides more shades of grey than any real blacks. This contrast also really adds to the perception of sharpness. Because the bike stands out so much in the Tri-X, it just seems like it sharper. Your attention is immediately drawn to the bike. I can’t really say this for the HP5 image where the bike just kind of blends in with the wall.

This next image shows the same thing. The extra contrast of Tri-X really helps to provide separation for the boat from the other aspects of the scene like the sky and water. The contrast helps to show depth in the boat. It helps to show that there are surfaces at different distances from the viewer. With the HP5 image, it almost looks like the different surfaces of the boat are on a flat plane. There’s little depth or dimension in the boat.

Here is a portrait style photo of a Chinese lion statue. Focus was set on the right eye and to me there is such a clear distinction between the two images in terms of sharpness. Tri-X looks so much sharper to me than HP5. The lines of the eye is clearly defined compared to HP5. To me, this image shows that Tri-X is a sharper film than HP5 but again, I think the contrast of Tri-X helps with this. The extra contrast helps with the separation between surfaces and provides depth which promotes sharpness.

Moving on to the last photo for this comparison. I chose this photo because it really exhibits the stark difference in contrast that you can get with these two films. With this, there’s a white subject on a darker background. In reality, the background really that dark because the entire scene was in direct sunlight but because the branches and leaves grew in layers, there end up being a lot of shadows. With Tri-X, this just translates to a lot of blacks. With HP5, we can see that there is still some detail in the shadows. Because they are a lot more shades of grey, it’s easier to make out that there are different structures in the background. With this, it just depends on what you’re looking for. If you want more detail in the shadows, HP5 will provide you with that while Tri-X provides you with a clear separation between the subject and the background with the use of contrast.


If you're considering on buying any of the products mentioned, please support my work by using the links below.

Ilford HP5 Plus https://amzn.to/2RQ5GN4

Kodak Tri-X 400 https://amzn.to/2pWkM7e

Nikon N2020 https://amzn.to/2PC53oX

Nikon N90S https://amzn.to/2CMR39i

Nikon 50mm f/1.8D https://amzn.to/2CMEPxk

Ilford DD-X Developer https://amzn.to/2PxtUdG

Ilford Ilfostop https://amzn.to/2yFBhIO

Ilford Rapid Fixer https://amzn.to/2CP7QIw


Want to support my work?
Consider visiting the shop and buying "Absolutely Nothing"
https://www.TheUpperLeftUSA.com/shop/absolutely-nothing

or

Become a Patron!
https://www.patreon.com/HaiHoangTran